BlueDriver is a popular and user-friendly OBD2 scanner that empowers you to understand your vehicle’s health right from your smartphone. Connecting your BlueDriver scanner is a straightforward process, but it varies slightly depending on the type of BlueDriver device you own – standard or Bluetooth Low Energy (LE). This guide will walk you through each step to ensure a successful connection, so you can start diagnosing your car like a pro.
Downloading and Installing the BlueDriver App
Before pairing your BlueDriver scanner, you’ll need to install the BlueDriver app on your smartphone or tablet. The app is your interface for reading vehicle data and running diagnostics.
-
Open the “App Store” app: Locate the App Store icon on your iOS device (iPhone or iPad) and tap to open it.
-
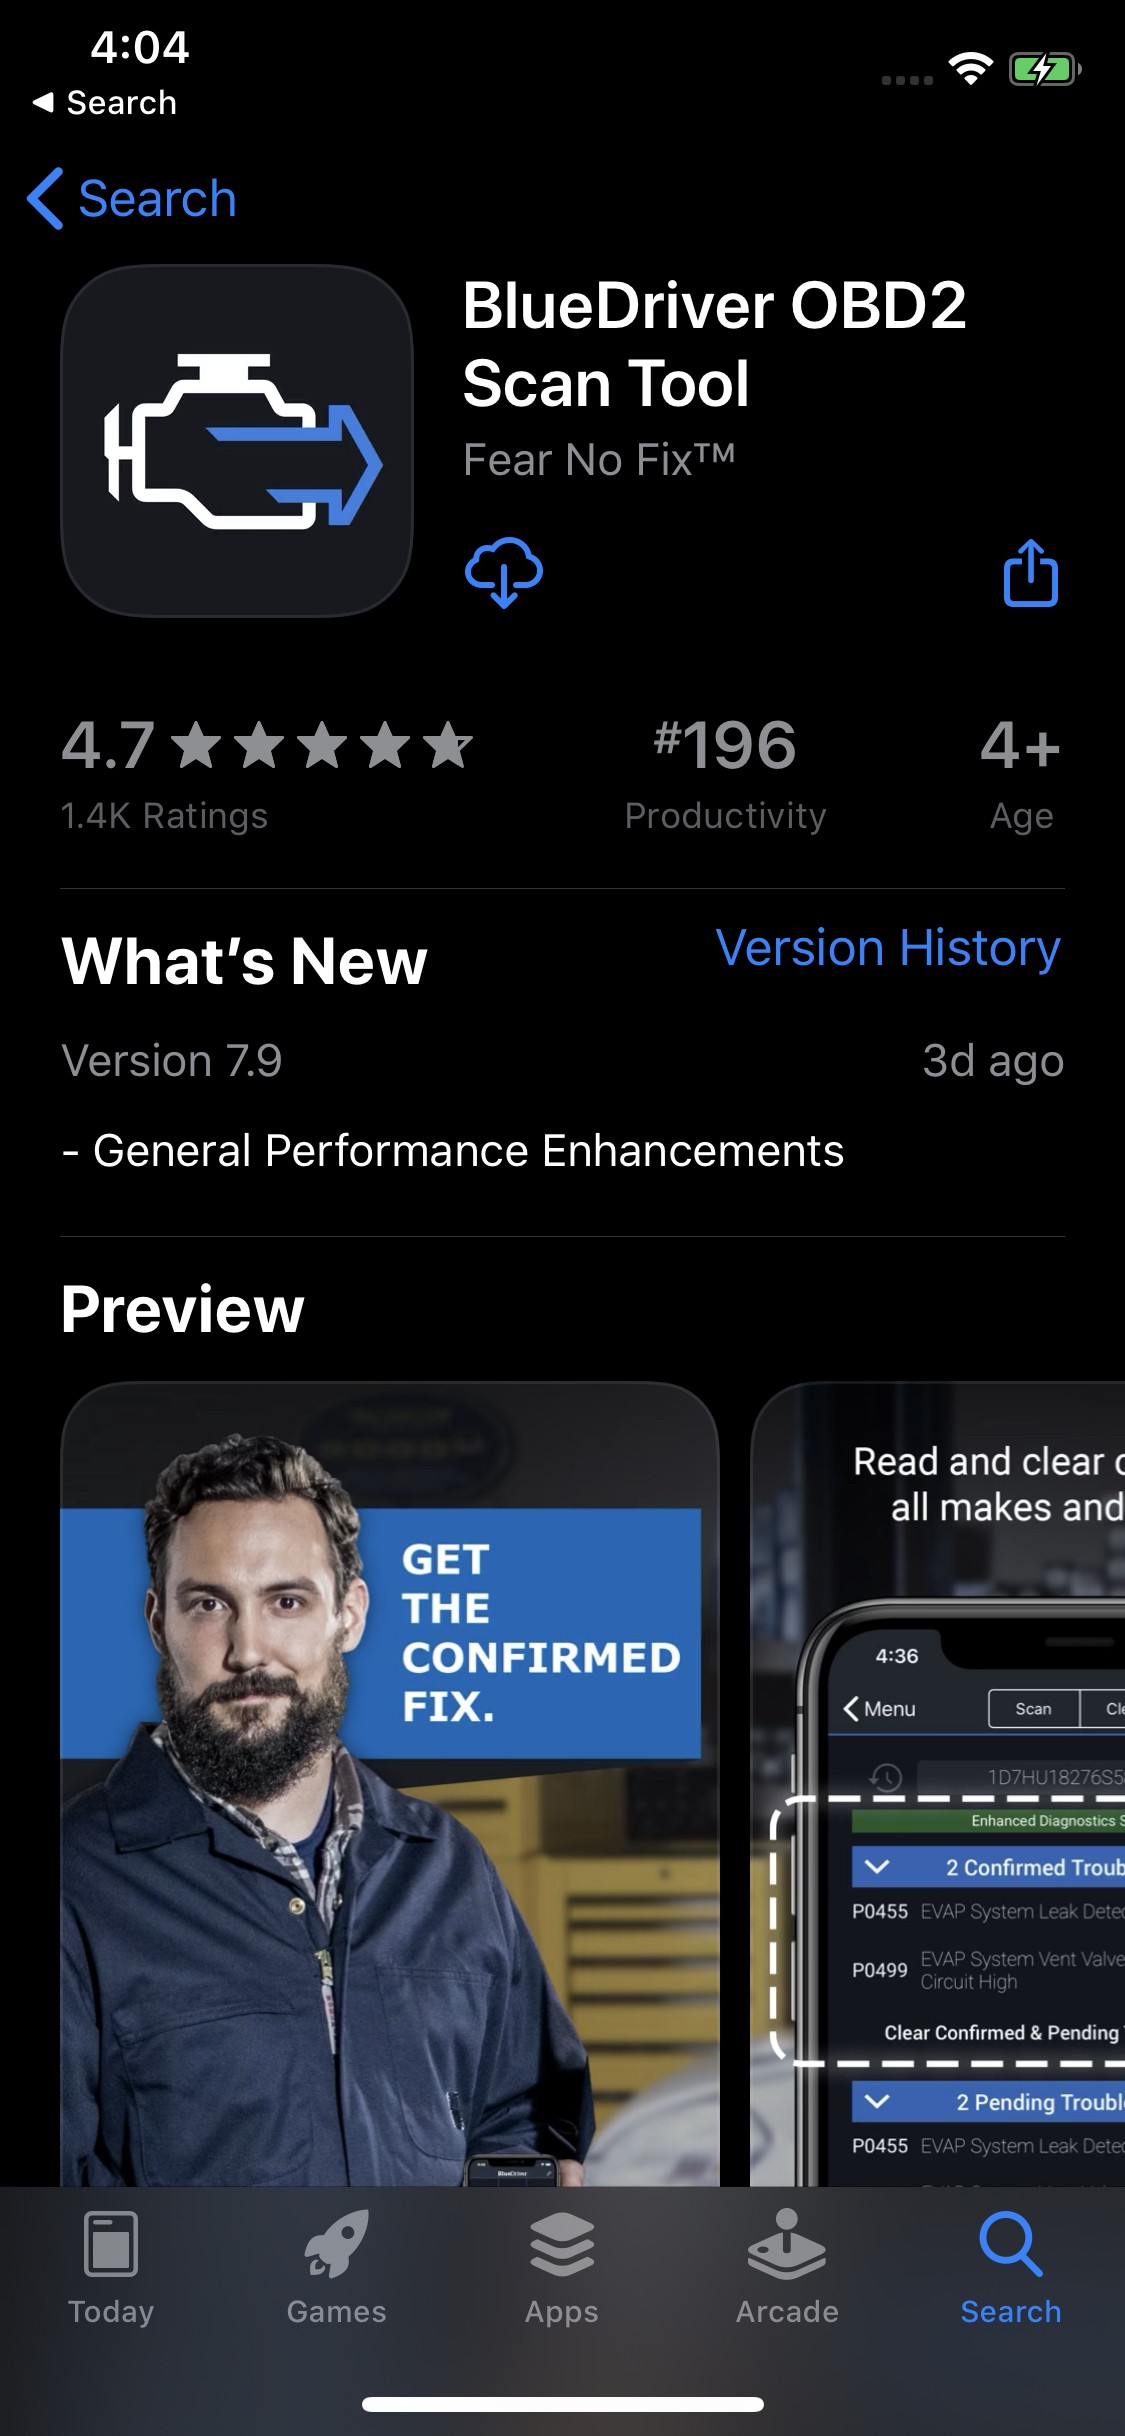
Search for “BlueDriver”: In the search bar at the bottom of the App Store, type “BlueDriver” and tap the “search” button on your keyboard.
-
Tap “Get”: Find the official “BlueDriver” app in the search results, usually listed under “Lemur Vehicle Monitors”. Tap the “Get” button next to the app icon to download and install it. You may need to confirm the download with your Apple ID password, Face ID, or Touch ID.
Pairing Your BlueDriver Scanner
The pairing process differs slightly between the standard BlueDriver and the BlueDriver LE. Identify your BlueDriver type by checking the engraving on the side of the device before proceeding.
Pairing a Standard BlueDriver
Standard BlueDriver devices pair via your device’s Bluetooth settings menu. Follow these steps to connect your standard BlueDriver:
-
Start your ignition: Turn your car’s ignition to the “ON” position. You don’t need to start the engine, but the car’s electrical system must be active.
-
Plug in your BlueDriver: Locate the OBD2 port in your vehicle. It’s typically located under the dashboard on the driver’s side. Plug your BlueDriver scanner securely into this port.
-
Wait for the solid blue light to go out: Once plugged in, the BlueDriver will initiate pairing mode. Wait for the solid blue light on the device to turn off. This indicates it’s ready to pair. Note: You have 60 seconds to pair after the light goes out. If you exceed this time, unplug and replug the BlueDriver to re-enter pairing mode.
-
Go to your device’s Bluetooth settings menu: Navigate to the Bluetooth settings on your smartphone or tablet. On iOS, this is usually found under “Settings” > “Bluetooth”.
- Pair BlueDriver from the list: Your BlueDriver device should appear in the “Other Devices” list as “BlueDriver”. Tap on “BlueDriver” to initiate the pairing process.
- Start the app and diagnose: Once paired in your Bluetooth settings, open the BlueDriver app. It should automatically detect and connect to your paired scanner, allowing you to start running vehicle diagnostics.
If you encounter any issues, try unplugging and replugging the BlueDriver and repeating the pairing steps. If problems persist, contact BlueDriver support for assistance.
Pairing a BlueDriver LE
BlueDriver LE devices use Bluetooth Low Energy and pair directly within the BlueDriver app, not through your device’s Bluetooth settings menu.
Note: The first time you open the BlueDriver app, it will request Bluetooth permissions. Granting this permission is essential for in-app pairing to function correctly.
-
Fully close the BlueDriver app: Ensure the BlueDriver app is completely closed and not running in the background.
- For iPhones with a physical home button (iPhone 8 and older): Double-press the home button, swipe through the app previews, and swipe up on the BlueDriver app to close it.
- For iPhones without a physical home button (iPhone X and newer): From the home screen, swipe up from the bottom of the screen and hold briefly, swipe through the app previews, and swipe up on the BlueDriver app to close it.
-
Start your ignition: Turn your vehicle’s ignition to the “ON” position.
-
Plug in your BlueDriver: Connect the BlueDriver LE scanner to your vehicle’s OBD2 port. Note: You have 60 seconds to pair after plugging in. If pairing times out, re-plug the device.
-
Start the BlueDriver App: Open the BlueDriver app on your device.
-
Pair within the app: Within 5-20 seconds, the app should automatically detect your BlueDriver LE scanner and display a “Pair” prompt. Tap “Pair” to complete the in-app pairing process. The app will then automatically connect to your vehicle, and you’re ready to begin diagnostics.
Connecting your BlueDriver OBD2 scanner is a simple process that unlocks a wealth of information about your vehicle’s health. By following these steps for either standard or LE BlueDriver devices, you’ll be well on your way to diagnosing issues, understanding your car’s performance, and saving money on potential mechanic visits. Explore the BlueDriver app further to discover its full range of diagnostic and monitoring capabilities.
