Ancel has established itself as a go-to brand for budget-friendly, user-friendly OBD2 scanners, meeting the needs of car owners who want to avoid costly trips to the mechanic. Investing in an Ancel OBD2 scanner can quickly pay for itself, especially when you consider that a single diagnostic session at a repair shop can cost as much as purchasing a brand new Ancel mid-range scanner.
The beauty of an OBD2 scanner lies in its ease of use. You don’t need to be a car expert or have specialized training to operate one. With just a little guidance, you can diagnose your car’s issues yourself. If you’re new to car diagnostics, the first time might seem a bit daunting, but we’re here to walk you through it and show you just how simple it can be to use an Ancel OBD2 scanner. But first, let’s understand, what exactly is an OBD2 scanner?
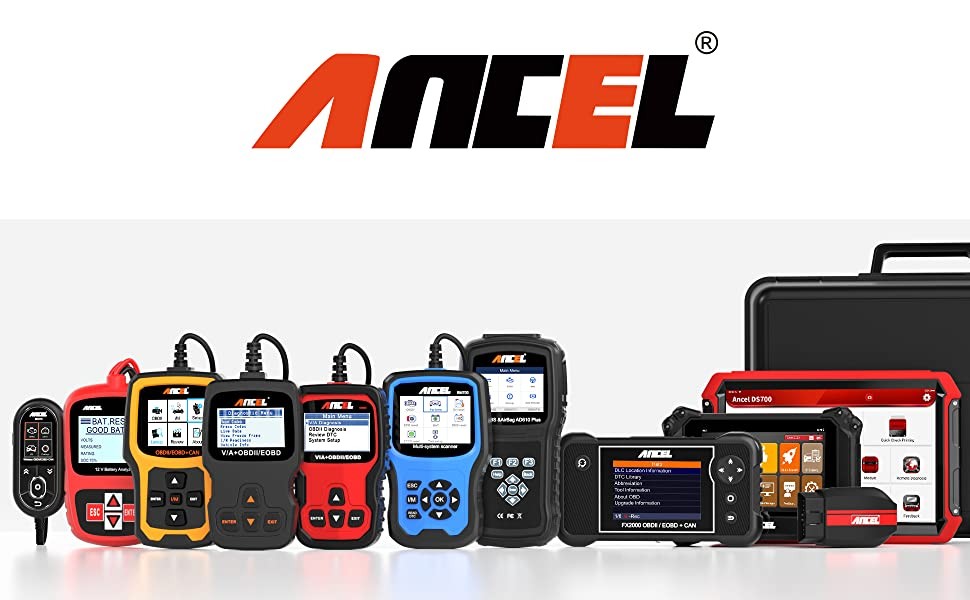
Understanding the Ancel OBD2 Scanner
The OBD2 scanner is a portable, handheld tool that connects to your vehicle’s onboard computer, also known as the Engine Control Unit (ECU). This connection allows the scanner to access and interpret data related to your car’s performance and health. Ancel OBD2 scanners are versatile devices capable of performing a range of diagnostic functions, including:
- Reading Diagnostic Trouble Codes (DTCs): These codes are essentially error messages from your car’s computer, indicating potential issues.
- Running Emissions Tests: Ensuring your vehicle is environmentally compliant by checking emissions system performance.
- Viewing Live Data: Providing real-time information about your engine’s operation, such as temperature, speed, and sensor readings.
- Accessing Freeze Frame Data: Capturing a snapshot of data when a fault code is triggered, helping to understand the conditions at the time of the error.
- Expanding Engine and Fuel System Parameters: For more advanced diagnostics and performance analysis.
- Checking Critical Systems: Diagnosing issues within systems like the Anti-lock Braking System (ABS) and Supplemental Restraint System (SRS/Airbags).
- Customizing Computer Settings: On some advanced models, you can even adjust certain vehicle settings, like door lock behavior.
The capabilities of Ancel OBD2 scanners vary depending on the model and price point. Professional-grade scanners offer the most comprehensive features, while mid-range scanners provide a solid set of functions for most car owners. Even budget-friendly Ancel code readers are powerful enough to read engine error codes, perform basic emission tests, and display essential live engine data – covering the fundamental diagnostic needs.
Step-by-Step Guide: How to Use Your Ancel OBD2 Scanner
Ancel OBD2 scanners are designed with user-friendliness in mind, but understanding the process is key. Whether you have a basic code reader or a more advanced model, the fundamental steps for using an Ancel OBD2 scanner remain consistent. Let’s break down how to use your Ancel scanner effectively.
Step 1: Locate the OBD2 Port in Your Vehicle
Since 1996, all vehicles manufactured for sale in most countries are equipped with a standardized On-Board Diagnostics II (OBD2) port. This port, also known as the Diagnostic Link Connector (DLC), is your gateway to accessing your car’s computer system. The OBD2 port is typically located inside the cabin of your vehicle.
In most cars and trucks, you’ll find the OBD2 port situated beneath the dashboard on the driver’s side. It’s usually near the steering column, often to the left. However, the exact placement can vary. Some ports are located deeper under the dash, requiring you to bend down to see them.
The OBD2 port is easily recognizable by its trapezoid shape and 16 female pins inside. While driver’s side under-dash is the most common location, some vehicles may have the port on the passenger side dashboard or even in the center console. If you are having trouble locating it, your vehicle’s owner’s manual is the best resource for finding the precise location of the OBD2 port.
Step 2: Connect Your Ancel OBD2 Scanner to the Port
Once you’ve located the OBD2 port, you’re ready to connect your Ancel diagnostic tool. Before proceeding, ensure that your car’s ignition is switched off. Ancel offers various types of OBD2 scanners, including wired handheld devices and wireless Bluetooth modules.
For wired Ancel handheld scanners, simply take the connector end of the cable and firmly plug it into the OBD2 port. Ensure it’s securely connected.
For wireless Ancel Bluetooth OBD2 scanners, the process is slightly different. You’ll first need to plug the Bluetooth module itself into the OBD2 port. This module then wirelessly connects to your smartphone or a dedicated tablet, depending on the scanner model. If using a Bluetooth scanner, ensure you have the Ancel app installed on your phone. The Ancel app is typically available for both iOS (on the App Store) and Android (on the Google Play Store).
Step 3: Turn On the Ignition and Input Vehicle Information
After physically connecting your Ancel OBD2 scanner, the next step involves powering up the scanner and potentially providing vehicle-specific information. Some Ancel scanners are self-powered, drawing power directly from the OBD2 port, and will turn on automatically when connected. Other models may require you to turn the vehicle’s ignition to the “ON” or “Accessory” position (without starting the engine) to power the scanner. Refer to your Ancel scanner’s user manual for specific power-up instructions.
Depending on the Ancel scanner model, you might be prompted to enter vehicle information. Some scanners require you to manually input the Vehicle Identification Number (VIN) to correctly identify your car. You may also need to specify the vehicle’s year, make, and engine type. The VIN is usually found on the driver’s side dashboard near the windshield. More advanced Ancel scanners, like some of the newer models, are equipped with auto-VIN features that can automatically retrieve this information once connected to the vehicle.
Step 4: Initiate the Scan and Read Fault Codes
With the scanner connected and powered on, and vehicle information entered (if required), you can now initiate the diagnostic scan. The exact process for starting a scan may vary slightly depending on your Ancel scanner model, but it generally involves navigating the scanner’s menu using the buttons on the device.
Once the scan begins, the Ancel scanner will communicate with your car’s ECU and retrieve any stored Diagnostic Trouble Codes (DTCs). Some Ancel code readers will present you with a main MENU screen, allowing you to select specific systems you wish to diagnose, such as the engine, transmission, or ABS. Others might directly display all detected error codes on the screen, which you can then scroll through.
When reading fault codes, you’ll typically encounter two main types of DTCs:
- Active Codes: These are DTCs that indicate current problems that are actively triggering the check engine light (CEL) or other warning lights. Active codes require immediate attention and troubleshooting.
- Pending Codes: These DTCs represent intermittent or potential issues, often related to emissions control. Pending codes may not illuminate the check engine light immediately, but they can escalate to active codes if the underlying problems worsen.
The check engine light illuminating is frequently caused by active codes or pending codes that have become active. These situations warrant prompt investigation and repair.
Step 5: Interpret the Meaning of the Diagnostic Trouble Codes
 Best Car Diagnostic Scanner
After the Ancel scanner displays the fault codes, your next crucial step is understanding what these codes mean. DTCs are standardized codes consisting of a letter followed by four numerical digits, like “P0427”. The letter at the beginning of the code indicates the system where the fault originated:
- P (Powertrain): P codes relate to issues within the powertrain system, including engine, transmission, fuel system, and emissions.
- B (Body): B codes indicate problems in the vehicle’s body systems, such as airbags, seatbelts, power windows, and power seats.
- C (Chassis): C codes pertain to chassis-related systems, including the anti-lock braking system (ABS), traction control, suspension, and steering.
- U (Undefined/Network): U codes signify communication or network-related issues within the vehicle’s computer systems.
The first digit following the letter further clarifies the code type. “0” generally indicates a generic code (standardized across manufacturers), while “1” often signifies a manufacturer-specific code (unique to a particular car brand). The subsequent digits provide more specific information about the faulty component or the nature of the problem.
Some Ancel scanners are equipped with a built-in DTC lookup function that will display a brief description of the fault code directly on the scanner screen. For scanners without this feature, you will need to consult a DTC code database online or in a repair manual to decipher the meaning of the codes. A quick web search for “OBD2 code P0427” (replacing with your actual code) will usually provide detailed explanations.
Step 6: Clear or Erase the Fault Codes (Optional)
Once you have diagnosed the issue based on the fault codes and performed the necessary repairs or component replacements, the Check Engine Light (CEL) should automatically turn off after a short drive cycle if the problem is resolved.
However, Ancel scanners also offer the ability to manually clear or erase the fault codes and turn off the CEL. This function can be useful after you have fixed the underlying issue to reset the system and confirm that the repair was successful. In most Ancel scanners, you can find the “Erase Codes” or “Clear DTC” option within the menu.
It’s important to note that clearing codes without addressing the underlying problem will only temporarily turn off the CEL. If the fault persists, the check engine light will reappear, and the same fault codes will likely return. Therefore, always prioritize diagnosing and repairing the root cause of the problem before clearing codes. Clearing codes should be done responsibly, ideally after confirming the issue has been resolved.
Final Remarks
Ancel OBD2 scanners offer a spectrum of options, from basic budget-friendly code readers to more advanced mid-range and professional-level diagnostic tools. Budget scanners provide essential functions, while mid-range models offer a broader range of capabilities, approaching those of professional scanners. Regardless of your choice, Ancel provides a wide selection to suit various needs and budgets. With numerous options available, you can find the perfect Ancel OBD2 scanner to empower you with DIY car diagnostics and maintenance.
FAQs
What is an OBD2 scanner?
An OBD2 scanner is a handheld electronic device that connects to a vehicle’s onboard computer (ECU) to access and interpret diagnostic information. It performs functions such as reading diagnostic trouble codes (DTCs), conducting emissions tests, and displaying live engine data.
How do you use an Ancel OBD2 scanner to check car problems?
To use an Ancel OBD2 scanner, first, locate the OBD2 port in your car. Then, connect the scanner to the port, turn on the car’s ignition (following the scanner’s instructions), and allow the scanner to read and display any fault codes. Interpret these codes to understand the potential issues with your vehicle.
What do the fault codes displayed on the Ancel scanner mean?
Fault codes are alphanumeric codes that represent specific issues detected by your car’s computer. The letter in the code indicates the system affected (Powertrain, Body, Chassis, or Network), and the numbers provide further details about the fault, helping you pinpoint the source of the problem.