Electronic Stability Program (ESP) is a crucial safety system in modern vehicles, and accessing its data via OBD2 can provide valuable insights into your car’s performance and potential issues. This guide will show you how to monitor your car’s Esp Obd2 data using WiCAN and Home Assistant, empowering you with real-time diagnostics and automation possibilities.
Understanding your vehicle’s ESP system is paramount for safety and maintenance. ESP, also known as Electronic Stability Control, works by monitoring various sensors to detect and prevent skids. When ESP intervenes, it’s often a sign of challenging driving conditions or potential underlying issues. OBD2 (On-Board Diagnostics II) is the standardized system that allows you to access data from your car’s computer, including ESP-related information. By connecting WiCAN to your car’s CAN bus and integrating it with Home Assistant, you can create a powerful DIY system to monitor and react to this data.
WiCAN acts as a bridge between your car’s CAN bus and your home network, transmitting data wirelessly. Home Assistant, an open-source home automation platform, then interprets this data, allowing you to visualize it, create automations, and receive alerts based on your car’s ESP OBD2 readings. This integration opens up possibilities for proactive car maintenance and a deeper understanding of your vehicle’s behavior.
Here’s how to set up WiCAN with Home Assistant to monitor ESP OBD2 data:
-
Install Mosquitto Broker Add-on in Home Assistant: MQTT (Message Queuing Telemetry Transport) is the protocol WiCAN uses to communicate with Home Assistant. Install the Mosquitto Broker add-on from the Home Assistant add-on store. This acts as the central hub for message exchange.
-
Create a Dedicated Home Assistant User for WiCAN: For security and organization, create a new user account in Home Assistant specifically for WiCAN. These credentials will be used to configure the MQTT settings in WiCAN.
-
Connect to WiCAN Access Point: Power up your WiCAN device and connect to its Wi-Fi access point (typically named WiCAN_xxxxxxxxxxxx).
-
Access WiCAN Web Interface: Open a web browser and navigate to
http://192.168.80.1/. This will open the WiCAN web configuration interface. -
Configure WiCAN Network Mode: Set the “Mode” to “Ap+Station”. This allows WiCAN to act as both an access point and connect to your home Wi-Fi network.
-
Enter Home Wi-Fi Credentials: Provide your home Wi-Fi network’s SSID and Password so WiCAN can connect to your local network.
-
Enable and Configure MQTT: Enable MQTT within the WiCAN web interface. Enter the Home Assistant user credentials you created in step 2 and the IP address of your Home Assistant MQTT broker (usually your Home Assistant server IP).
-
Install Node-RED Add-on in Home Assistant: Node-RED is a visual flow-based programming tool that simplifies automation creation in Home Assistant. Install the Node-RED add-on from the Home Assistant add-on store.
-
Import WiCAN Example Flow: Download the “wican_example_flow.json” file (usually available from the WiCAN developer or community resources). Within Node-RED, import this flow and replace the placeholder
device_idwith your specific WiCAN device ID. -
Configure MQTT Broker in Node-RED: Double-click the “subscription” node in the imported flow. Edit the server settings to point to your MQTT broker IP address and use the Home Assistant user credentials from step 2.
-
Deploy the Node-RED Flow: Click “Deploy” in Node-RED to activate the flow. This establishes the connection between WiCAN and Home Assistant via MQTT.
-
Create MQTT Sensors in Home Assistant: To display ESP OBD2 data in Home Assistant, you need to define MQTT sensors in your
configuration.yamlfile. For example, to monitor ambient temperature and fuel level (common OBD2 parameters, adapt these to ESP related PIDs if available):
mqtt:
  sensor:
    - name: "Ambient Temperature"
      state_topic: "CAR1/Amb_Temp"
      unit_of_measurement: "°C"
      value_template: "{{ value_json.amb_temp }}"
    - name: "Fuel Level"
      state_topic: "CAR1/Fuel_Level"
      unit_of_measurement: "%"
      value_template: "{{ value_json.fuel_level }}"
Note: Replace "CAR1/Amb_Temp" and "CAR1/Fuel_Level" with the actual MQTT topics your WiCAN device is publishing for ESP OBD2 data. You will need to consult your WiCAN documentation or CAN bus PIDs (Parameter IDs) for ESP related sensors to determine the correct topics and value templates.
-
Restart Home Assistant: Restart Home Assistant for the new MQTT sensors to be loaded.
-
Add Entities to Home Assistant Dashboard: After restarting, go to your Home Assistant dashboard and add new “Entity” cards to visualize the ESP OBD2 sensor data you configured.
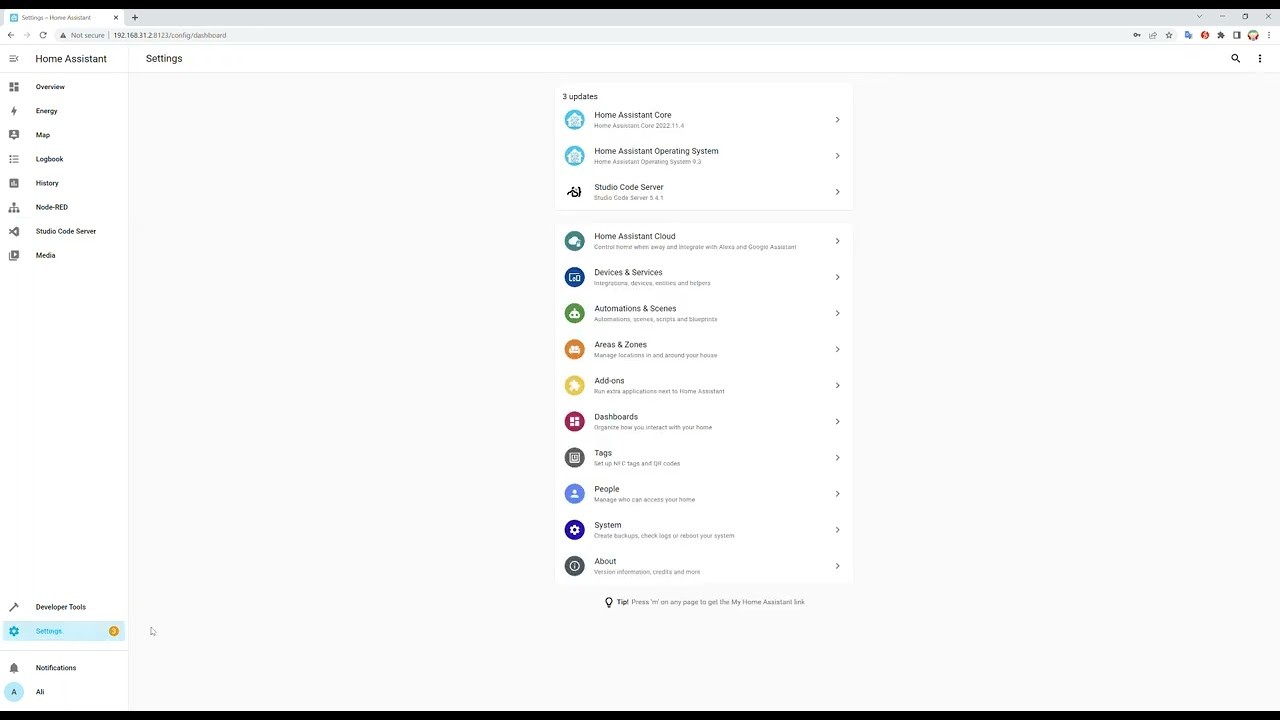
Example of a WiCAN and Home Assistant integration setup for monitoring car data.
By following these steps, you can successfully integrate WiCAN with Home Assistant and start monitoring your car’s ESP OBD2 data. This setup provides a foundation for building custom dashboards, creating automated alerts for ESP system anomalies, and gaining a deeper understanding of your vehicle’s performance. Remember to consult your car’s service manual and OBD2 PID documentation for specific ESP related parameters you can monitor. This DIY approach empowers car enthusiasts and home automation users to take control of their vehicle diagnostics and create a smarter, more connected car experience.