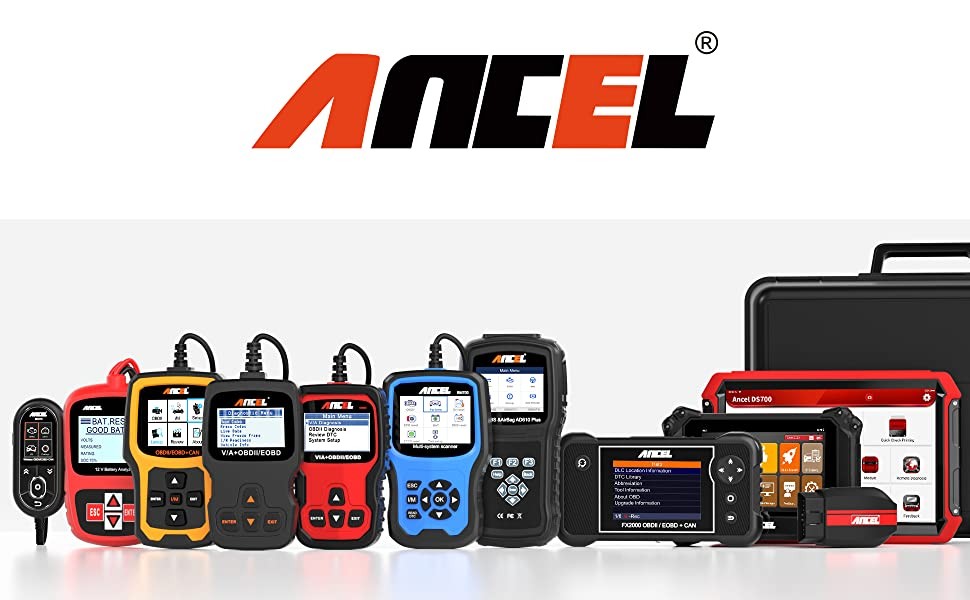
Ancel has established itself as a go-to brand for budget-friendly and user-friendly OBD2 scanners, designed to meet your car diagnostic needs without breaking the bank or requiring a trip to the mechanic. Investing in an Ancel OBD2 scanner can quickly pay for itself, especially when considering that a single diagnostic session at a repair shop can cost as much as a new mid-range scanner.
The beauty of an Ancel OBD2 scanner lies in its simplicity. You don’t need to be a car expert to use one. With just a little guidance, you can easily diagnose your vehicle’s issues yourself. If it’s your first time, don’t worry – it might seem a bit daunting initially, but you’ll find it much easier after your first successful scan. But before diving into the instructions, let’s clarify: what exactly is an OBD2 scanner?
Understanding the OBD2 Scanner
The OBD2 scanner is a portable tool that plugs into your car’s onboard computer, also known as the Engine Control Unit (ECU). This connection allows the scanner to perform a variety of essential diagnostic functions, including:
- Reading diagnostic trouble codes (DTCs) to pinpoint car problems.
- Conducting emissions tests to ensure your vehicle meets environmental standards.
- Displaying live data about your car’s engine performance for real-time monitoring.
- Accessing freeze frame data to understand the conditions when a fault code was recorded.
- Providing insights into engine and fuel system parameters to optimize performance.
- Inspecting crucial safety systems like the Anti-lock Braking System (ABS) and Supplemental Restraint System (SRS).
- In some advanced models, even adjusting computer settings for features like door locks.
While professional-grade scanners offer all these capabilities, mid-range Ancel scanners are equipped with most of them. Even budget-friendly Ancel code readers cover the essentials: reading engine error codes, performing emission tests, and showing live engine data. These basic functions are often sufficient for most car owners to understand and address common vehicle issues.
Step-by-Step Instructions: How to Use Your Ancel OBD2 Scanner
Ancel OBD2 scanners come in various models, each with different features depending on the price point. You’ll find both corded handheld scanners and wireless Bluetooth-enabled versions. Bluetooth models connect to your smartphone, and some even come with dedicated tablets for easier viewing and operation. Regardless of the type, the basic usage steps remain consistent. Here’s a comprehensive guide on how to use your Ancel OBD2 scanner:
Step 1: Finding the OBD2 Port in Your Vehicle
Since 1996, all cars have been manufactured with a standardized onboard diagnostic port, known as the OBD2 port or Diagnostic Link Connector (DLC). In most vehicles, you can locate the OBD2 port underneath the dashboard on the driver’s side. It’s typically situated to the left of the steering column. However, the exact location can vary. Some ports are positioned deeper under the dash, requiring you to bend down further to see them.
The OBD2 port is easily recognizable by its trapezoid shape and 16 female pins. While the driver’s side under the dash is the most common location, some vehicles might have the port on the passenger’s side of the dash or even in the center console. If you’re having trouble finding it, your car’s owner’s manual is the best resource for locating the OBD2 port.
Step 2: Connecting the Ancel OBD2 Scanner to Your Car
Once you’ve located the OBD2 port, ensure your car’s ignition is turned off before proceeding with the connection. Ancel OBD2 scanners are designed for easy plug-and-play operation. The connection process differs slightly depending on whether you are using a wired handheld scanner or a Bluetooth module.
For wired Ancel handheld scanners, simply plug the connector end of the cable firmly into the OBD2 port. For wireless Bluetooth Ancel scanners, the Bluetooth module itself plugs directly into the OBD2 port. If you’re using a Bluetooth scanner, you’ll need to pair it with your smartphone or the tablet that came with your scanner. Make sure you have the Ancel app installed on your phone. The Ancel app is readily available for both iOS devices on the App Store and Android devices on the Google Play Store.
Step 3: Powering Up and Inputting Vehicle Information
An advantage of some Ancel scanners is their self-powered capability, meaning they can draw power directly from the OBD2 port. For these models, you may not need to turn on the ignition to the accessory mode to power the scanner and read codes. However, some scanners might require the ignition to be in the “on” or accessory mode. It’s important to note that the engine should remain off while the scanner is performing diagnostics.
After powering up, some Ancel scanners will automatically detect your vehicle information. More advanced models can automatically retrieve the Vehicle Identification Number (VIN). However, some scanners might prompt you to manually enter vehicle information, such as the VIN, model, and engine type. The VIN is typically located on the windscreen on the driver’s side of your car. Accurately inputting this information ensures the scanner correctly identifies your vehicle for precise diagnostics.
Step 4: Interpreting Diagnostic Trouble Codes (DTCs)
After the Ancel scanner has successfully connected to your car and gathered the necessary information, it will initiate a scan of your vehicle’s systems. Once the scan is complete, the scanner will display any diagnostic trouble codes (DTCs) that are stored in the ECU. Some Ancel scanners present a menu, allowing you to select specific systems for diagnosis. Others will directly display a list of all detected error codes, which you can then scroll through.
Understanding the type of DTCs is crucial. You will generally encounter two main categories:
- Active Codes: These DTCs indicate current issues that are serious enough to trigger the check engine light. Active codes require immediate attention to prevent potential damage or safety risks.
- Pending Codes: These DTCs relate to intermittent or potential issues, often associated with emissions control. Pending codes may not activate the check engine light immediately but can escalate into active codes if the underlying problems persist or worsen.
The check engine light is often triggered by active codes or pending codes that have progressed into active status. Addressing these codes promptly is essential for maintaining your vehicle’s health and performance.
Step 5: Deciphering the Meaning of Fault Codes
Diagnostic trouble codes are displayed in a standardized format: a letter followed by four digits. For example, you might see a code like “P0427.” The initial letter provides the first level of categorization:
- B (Body): Codes starting with “B” indicate issues related to the vehicle’s body systems, such as airbags, seatbelts, power windows, and power steering.
- P (Powertrain): “P” codes are the most common and point to problems within the powertrain system. This includes the engine, transmission, fuel system, ignition system, and emissions control.
- C (Chassis): Codes beginning with “C” relate to chassis issues, such as the anti-lock braking system (ABS), brake fluid levels, traction control, and axle problems.
- U (Undefined/Network): “U” codes signify communication or network-related issues within the vehicle’s computer systems. These codes are less common for basic diagnostics.
The first digit after the letter further refines the code. “0” indicates a generic code, standardized across all manufacturers, while “1” signifies a manufacturer-specific code. The subsequent numbers provide more specific information about the faulty component and the nature of the problem. Some Ancel scanners are equipped with a DTC lookup feature that will provide a brief explanation of the code directly on the scanner screen. For scanners without this feature, or for more detailed information, you can easily search for the code online using a search engine like Google to find comprehensive explanations and troubleshooting tips.
Step 6: Clearing Fault Codes After Repairs
Once you have identified the meaning of the fault codes, addressed the underlying issues by repairing or replacing faulty components, and verified the repairs, you can proceed to clear the fault codes. In most cases, after a successful repair, the check engine light (CEL) should turn off automatically after a short drive cycle. However, you can also manually turn off the CEL and clear the stored codes using your Ancel scanner.
Most Ancel OBD2 scanners have the capability to erase codes and turn off the check engine light, even before the underlying issues are fully resolved. However, it is important to remember that clearing codes without fixing the problem is only a temporary solution. The check engine light will likely reappear, and the underlying issue will persist. Therefore, always prioritize diagnosing and repairing the root cause of the problem before clearing the codes.
Final Thoughts
Ancel OBD2 scanners offer a range of options, from basic budget models to more advanced mid-range scanners, catering to different user needs and budgets. While budget scanners provide essential functions, mid-range models offer a broader spectrum of capabilities, often approaching the functionality of professional-level scanners used by mechanics. Regardless of your choice, Ancel provides reliable and user-friendly tools to empower you to understand your vehicle’s health. With a variety of options available, you can easily find an Ancel OBD2 scanner that perfectly suits your diagnostic needs and empowers you to take control of your car maintenance.
Frequently Asked Questions (FAQs)
What is an OBD2 scanner and what does it do?
An OBD2 scanner is a handheld diagnostic tool that connects to your car’s onboard computer (ECU). It allows you to read diagnostic trouble codes (DTCs), perform emissions tests, view live engine data, and access other important vehicle information.
How do I use an Ancel OBD2 scanner to diagnose my car?
To use an Ancel OBD2 scanner, first locate the OBD2 port in your car. Then, connect the scanner to the port, turn on your vehicle’s ignition (or follow the scanner’s specific instructions), and if prompted, enter your vehicle’s information. Finally, use the scanner’s interface to initiate a scan and read the displayed fault codes.
What do the fault codes on my OBD2 scanner mean?
Fault codes are alphanumeric codes that indicate specific problems detected by your car’s computer. The letter in the code (P, B, C, or U) denotes the system affected (Powertrain, Body, Chassis, or Undefined/Network). The numbers provide more specific details about the fault. You can look up the code in your Ancel scanner’s manual or online to understand its meaning and identify the necessary repairs.

