Experiencing problems with your Mac? Sometimes, issues aren’t software related but stem from the hardware itself. Just like you might run diagnostics on your iPhone or iPad, your Mac has built-in tools to help pinpoint hardware malfunctions. This guide will walk you through using Apple Diagnostics, formerly known as Apple Hardware Test, to check your Mac’s components. Whether you suspect a problem after an update or your Mac is simply not performing as expected, understanding how to diagnose potential hardware issues is the first step towards resolution. This process is similar in concept to diagnosing issues across your Apple ecosystem, ensuring all your devices, including those running iOS, are functioning optimally.
Before you begin, it’s essential to prepare your Mac properly to ensure accurate diagnostic results.
Preparing Your Mac for Diagnosis
Proper preparation is crucial for accurate Apple Diagnostics results. Follow these steps before starting the test:
-
Software Updates: If your Mac is still functional, it’s always a good practice to ensure it’s running the latest macOS updates. While hardware diagnostics are independent of the operating system to a large extent, having the latest updates can sometimes resolve underlying software conflicts that might be mistaken for hardware problems. You can usually find update options in System Settings (or System Preferences in older macOS versions).
-
Power Down: Completely shut down your Mac. Do not just put it to sleep; a full shutdown is necessary to initiate the diagnostics process correctly.
-
Disconnect Peripherals: Unplug all external devices from your Mac, except for the essential ones needed for interaction and display. This includes:
- Keyboard and Mouse (Wired USB preferred for troubleshooting, built-in keyboard/trackpad for laptops are also fine)
- Display (if using an external display)
- Ethernet connection (if you need a wired network connection for diagnostics)
- AC power adapter (ensure your Mac is plugged into power during the test)
Disconnecting peripherals eliminates potential conflicts or false positives caused by external devices during the diagnostic test.
-
Stable Environment: Place your Mac on a hard, flat, and stable surface. Ensure there is good ventilation around the device. This prevents overheating during the diagnostic process, which can sometimes be intensive.
Starting Apple Diagnostics: Two Methods for Different Macs
The method to start Apple Diagnostics differs depending on whether your Mac uses Apple silicon or an Intel processor. Determine your Mac’s processor type before proceeding. You can usually find this information in the “About This Mac” section under the Apple menu.
Method 1: For Macs with Apple Silicon
If your Mac has Apple silicon (like M1, M2, M3 chips), use these steps:
-
Power Button Hold: Press and hold the power button on your Mac. For Mac laptops with Touch ID, the Touch ID button also serves as the power button. Keep holding it down.
-
Startup Options: Continue holding the power button. Your Mac will power on and boot into startup options. You’ll know you’ve reached this stage when you see the “Options” screen appear. Release the power button at this point.
-
Command-D: Once you see the “Options” screen, press and hold the Command (⌘) and D keys simultaneously on your keyboard. This keyboard shortcut initiates Apple Diagnostics.
Method 2: For Intel Processor-Based Macs
For Macs with Intel processors, follow these steps:
-
Power On and D Key: Turn on your Mac. Immediately after pressing the power button, press and hold the D key on your keyboard. It’s crucial to press the D key quickly after powering on.
-
Release D Key: Keep holding the D key until you see a progress bar appear on the screen or you are prompted to choose your language. Once you see either of these, you can release the D key.
Alternative Startup Method (Option-D): If starting with the D key alone doesn’t work, try using Option (⌥)-D at startup instead. Press and hold the Option key and the D key simultaneously immediately after powering on your Mac. This method forces the Mac to attempt to start Diagnostics over the internet, which can be helpful if the local diagnostics partition is unavailable.
Troubleshooting Key Combinations: If neither D nor Option-D works, review Apple’s guidelines for using keyboard combinations at startup. Sometimes timing or keyboard issues can interfere with the process. Ensure you are using a wired keyboard if possible for troubleshooting startup issues.
You might be asked to select your preferred language. If prompted, choose your language. Additionally, you may be asked to ensure you have an active network connection. If you need to connect to Wi-Fi, use the Wi-Fi menu located in the upper-right corner of your screen to select and connect to a Wi-Fi network. A network connection might be needed for certain diagnostic functions or for accessing further support information.
Understanding and Interpreting Test Results
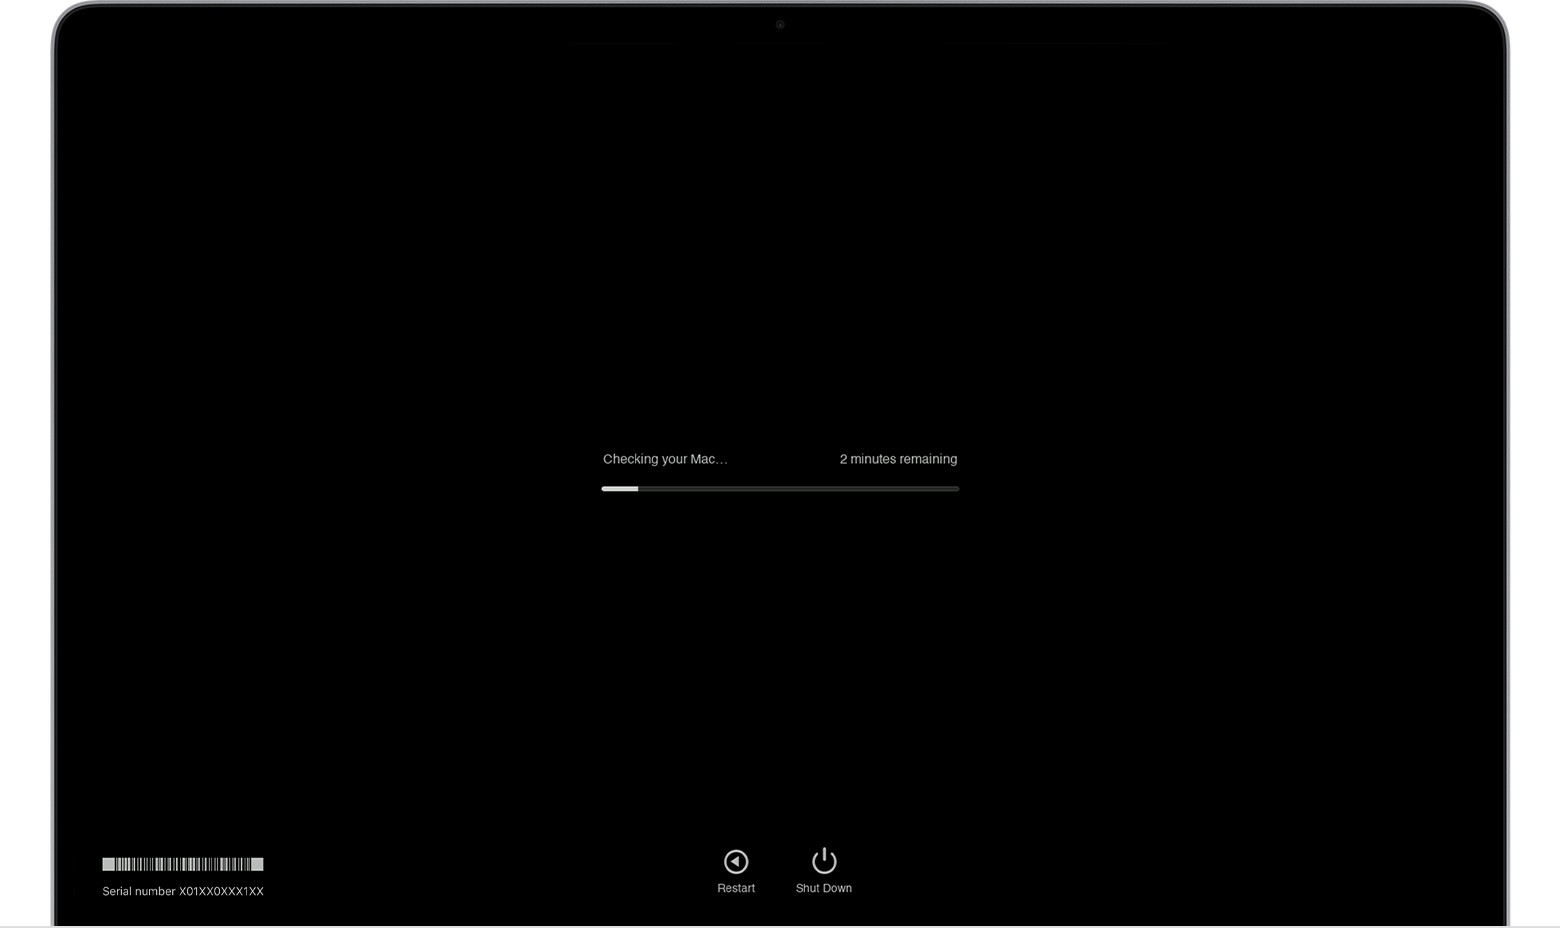
Once Apple Diagnostics begins, you will see a progress bar on your screen indicating that your Mac is being checked for hardware issues. Let the diagnostic process run its course; the duration can vary depending on the Mac model and the extent of the test.
After the diagnostics process is complete, Apple Diagnostics will display the results. The results will indicate whether any hardware issues were detected.
No Issues Found: If no hardware issues are detected, Apple Diagnostics will display a “No issues found” message, similar to the image above. This is the best-case scenario, suggesting your Mac’s hardware is likely functioning correctly. If you were experiencing problems, they might be software-related or due to external peripherals.
Issues Found – Reference Codes: If Apple Diagnostics detects a hardware problem, it will display a message indicating the issue and provide one or more reference codes. These reference codes are crucial for understanding the nature of the problem.
Reference Codes Explained: Apple Diagnostics reference codes are alphanumeric codes that specifically identify the hardware component or subsystem that is experiencing issues. These codes are essential when seeking further support or repair.
You can find a detailed list of Apple Diagnostics reference codes and their meanings on Apple’s support website:
List of Apple Diagnostics reference codes
Use this list to look up the reference code provided in your diagnostics results to get a better understanding of the potential hardware problem.
Actions After Diagnostics:
After viewing the test results, Apple Diagnostics provides several options:
-
Run the test again: To re-run the diagnostic test, click “Run the test again” or press Command-R. Repeating the test can be useful to confirm initial results, especially if issues were intermittent.
-
Restart: To restart your Mac normally, click “Restart” or press R.
-
Shut Down: To power off your Mac, click “Shut Down” or press S.
-
Get Started (Service and Support Options): If Apple Diagnostics found issues and you are connected to the internet, you can click “Get started” or press Command-G to get information about your service and support options from Apple. This will restart your Mac and open a webpage with relevant support resources.
Need Further Assistance?
If Apple Diagnostics identifies hardware issues, or if you continue to experience problems even when no issues are found, further assistance might be necessary.
For more in-depth troubleshooting and support, Apple provides resources to help you understand your service and support options.
Get suggestions from Apple Support
By using Apple Diagnostics, you’ve taken a significant step in diagnosing potential hardware problems on your Mac. This tool, similar in principle to diagnostic tools available for iOS devices, empowers you to understand your Apple device’s health and seek appropriate support when needed. Remember to note down any reference codes provided by Apple Diagnostics, as they will be invaluable when contacting Apple Support or an authorized service provider.
Published Date: (Original Publish Date of Source Article)