The electrical system is the central nervous system of your vehicle, orchestrating everything from ignition and fuel delivery to advanced driver-assistance systems and in-cabin comfort. This intricate network, encompassing the battery, alternator, starter, and a complex web of sensors and wires, is paramount to your car’s functionality. As vehicles become more sophisticated, their electrical systems evolve, integrating digital fuel injection, advanced infotainment, and automated driving technologies, all heavily reliant on precise electrical power and communication.
Understanding Vehicle Electrical Systems
At the heart of any car’s electrical system is the battery. It’s the initial power source, providing the necessary energy to start the engine and operate electronic systems when the engine is off. Once the engine is running, the alternator takes over as the primary power generator, recharging the battery and supplying power to the vehicle’s various systems. The starter motor, energized by the battery, cranks the engine to initiate the combustion process.
Beyond these fundamental components, modern vehicles are equipped with a sophisticated network of Electronic Control Units (ECUs) and sensors. These ECUs manage a vast array of functions, from engine timing and airbag deployment to brake system management and climate control.
The Urgency of Prompt Electrical Issue Diagnosis
Diagnosing electrical problems in your vehicle without delay is critical for several compelling reasons. Firstly, electrical issues can severely impact your vehicle’s reliability and overall performance. For example, a failing alternator can lead to insufficient battery charging, potentially causing unexpected breakdowns or starting failures. Furthermore, seemingly minor electrical problems can escalate into more significant and costly issues. Neglecting something as simple as battery terminal corrosion can increase electrical resistance, leading to overheating wires and even raising the risk of electrical fires.
Modern vehicles, with their interconnected electronic systems, are particularly vulnerable. A malfunction in one part of the electrical system can trigger a ripple effect, causing problems in seemingly unrelated areas. What appears to be an engine performance issue might, in fact, stem from an electrical system fault. This is where tools like OBD2 scanners for electrical problems become indispensable. These scanners can interpret diagnostic trouble codes, offering valuable insights into potential electrical malfunctions.
Early and accurate diagnosis using an Obd2 Scanner For Electrical Problems not only ensures your vehicle operates efficiently but also enhances passenger safety by confirming that critical safety systems are fully functional. Let’s delve deeper into how OBD2 scanners are instrumental in identifying electrical issues and maintaining the long-term reliability and dependability of today’s vehicles.
Key Features of OBD2 Scanners for Electrical Diagnostics
OBD2 scanners are invaluable tools for diagnosing a wide spectrum of automotive issues, particularly the complex electrical problems that can compromise vehicle performance and safety. These devices are equipped with a suite of features specifically designed for efficient electrical diagnostics. Let’s examine these key features and compare the capabilities of two popular Foxwell models: the NT710 and NT809.
Essential Features for Electrical Issue Diagnosis
- Live Data Monitoring: This feature empowers technicians and vehicle owners to monitor real-time data from the vehicle’s sensors and electronic systems. By observing parameters like voltage outputs, current draw, and other critical signals, users can detect anomalies that may indicate electrical problems.
- Voltage Checks: Many OBD2 scanners for electrical problems are capable of measuring and recording voltage values across various vehicle systems. This is crucial for identifying battery and alternator issues, such as undercharging or overcharging, which can lead to significant electrical system failures.
- Data Graphing: Advanced scanners offer data graphing capabilities over time. This is incredibly useful for identifying intermittent electrical issues or fluctuations that might not be apparent in a standard diagnostic scan.
- Circuit Testing: Certain scanners provide features to directly test circuit integrity and component functionality through the scanner interface, offering dynamic diagnostic capabilities.
- System Tests: These include specialized tests for specific systems like the charging system, starting system, and overall battery health—all vital components of the vehicle’s electrical architecture.
Model Comparison: Foxwell NT710 vs. NT809
| Feature | Foxwell NT710 | Foxwell NT809 |
|---|---|---|
| Live Data Stream | Yes | Yes, with enhanced graphing capabilities |
| Voltage Checks | Yes | Yes, across more systems and components |
| Bi-directional Control | Limited | Extensive bi-directional control for component testing and system activation |
| Advanced Diagnostics | Basic electrical system diagnostics | Advanced electrical diagnostics, including module programming and adaptations |
| User Interface | User-friendly, suitable for DIY users | Professional-grade interface with advanced navigation and features |
| Processing Speed | Standard | Faster processing for quicker diagnostics |
| Recommended For | DIY enthusiasts and basic electrical checks | Professional technicians and complex electrical system diagnosis |
Comparative Overview:
While both the Foxwell NT710 and NT809 offer excellent diagnostic capabilities, the NT809 is better suited for in-depth electrical diagnostics due to its advanced features like bi-directional control, a more intuitive interface, and faster processing. The NT809’s sophisticated features make it an ideal choice for professionals and those working with more complex vehicle electrical systems.
When choosing an OBD2 scanner for electrical problems, it’s essential to consider the features that align with your diagnostic needs. Features like live data monitoring, voltage checks, and bi-directional control can significantly simplify the process of diagnosing and repairing vehicle electrical issues. Whether you are a professional mechanic or a DIY enthusiast, selecting the right device, such as the Foxwell NT710 or NT809, depends on the complexity of the tasks you undertake and the depth of diagnostics required.
Step-by-Step Guide: Diagnosing Electrical Issues with an OBD2 Scanner
Using an OBD2 scanner, like the Foxwell NT710, can significantly streamline the process of diagnosing electrical problems in your vehicle. This guide provides detailed steps on how to prepare your vehicle and effectively use the scanner for accurate electrical diagnostics and issue resolution.
Vehicle and Scanner Preparation
Preparing Your Vehicle:
- Safety First: Ensure your vehicle is parked in a safe location, the parking brake is engaged, and the ignition is turned off before you begin.
- Battery Voltage Check: Reliable electronic diagnostics depend on a stable power supply. Verify that your car battery is adequately charged. A weak battery can lead to inaccurate codes or insufficient power for the scanner to function correctly.
Preparing Your Scanner:
- Software Updates: Confirm that your Foxwell NT710 scanner is updated with the latest software. This ensures it has the most current features and compatibility with newer vehicle models.
- Familiarize Yourself: If you are new to the NT710 scanner, take some time to understand its functions. Read the user manual to become comfortable with its features and learn how to navigate the menus effectively.
Diagnostic Process: Connection to Diagnosis
Connecting the Scanner:
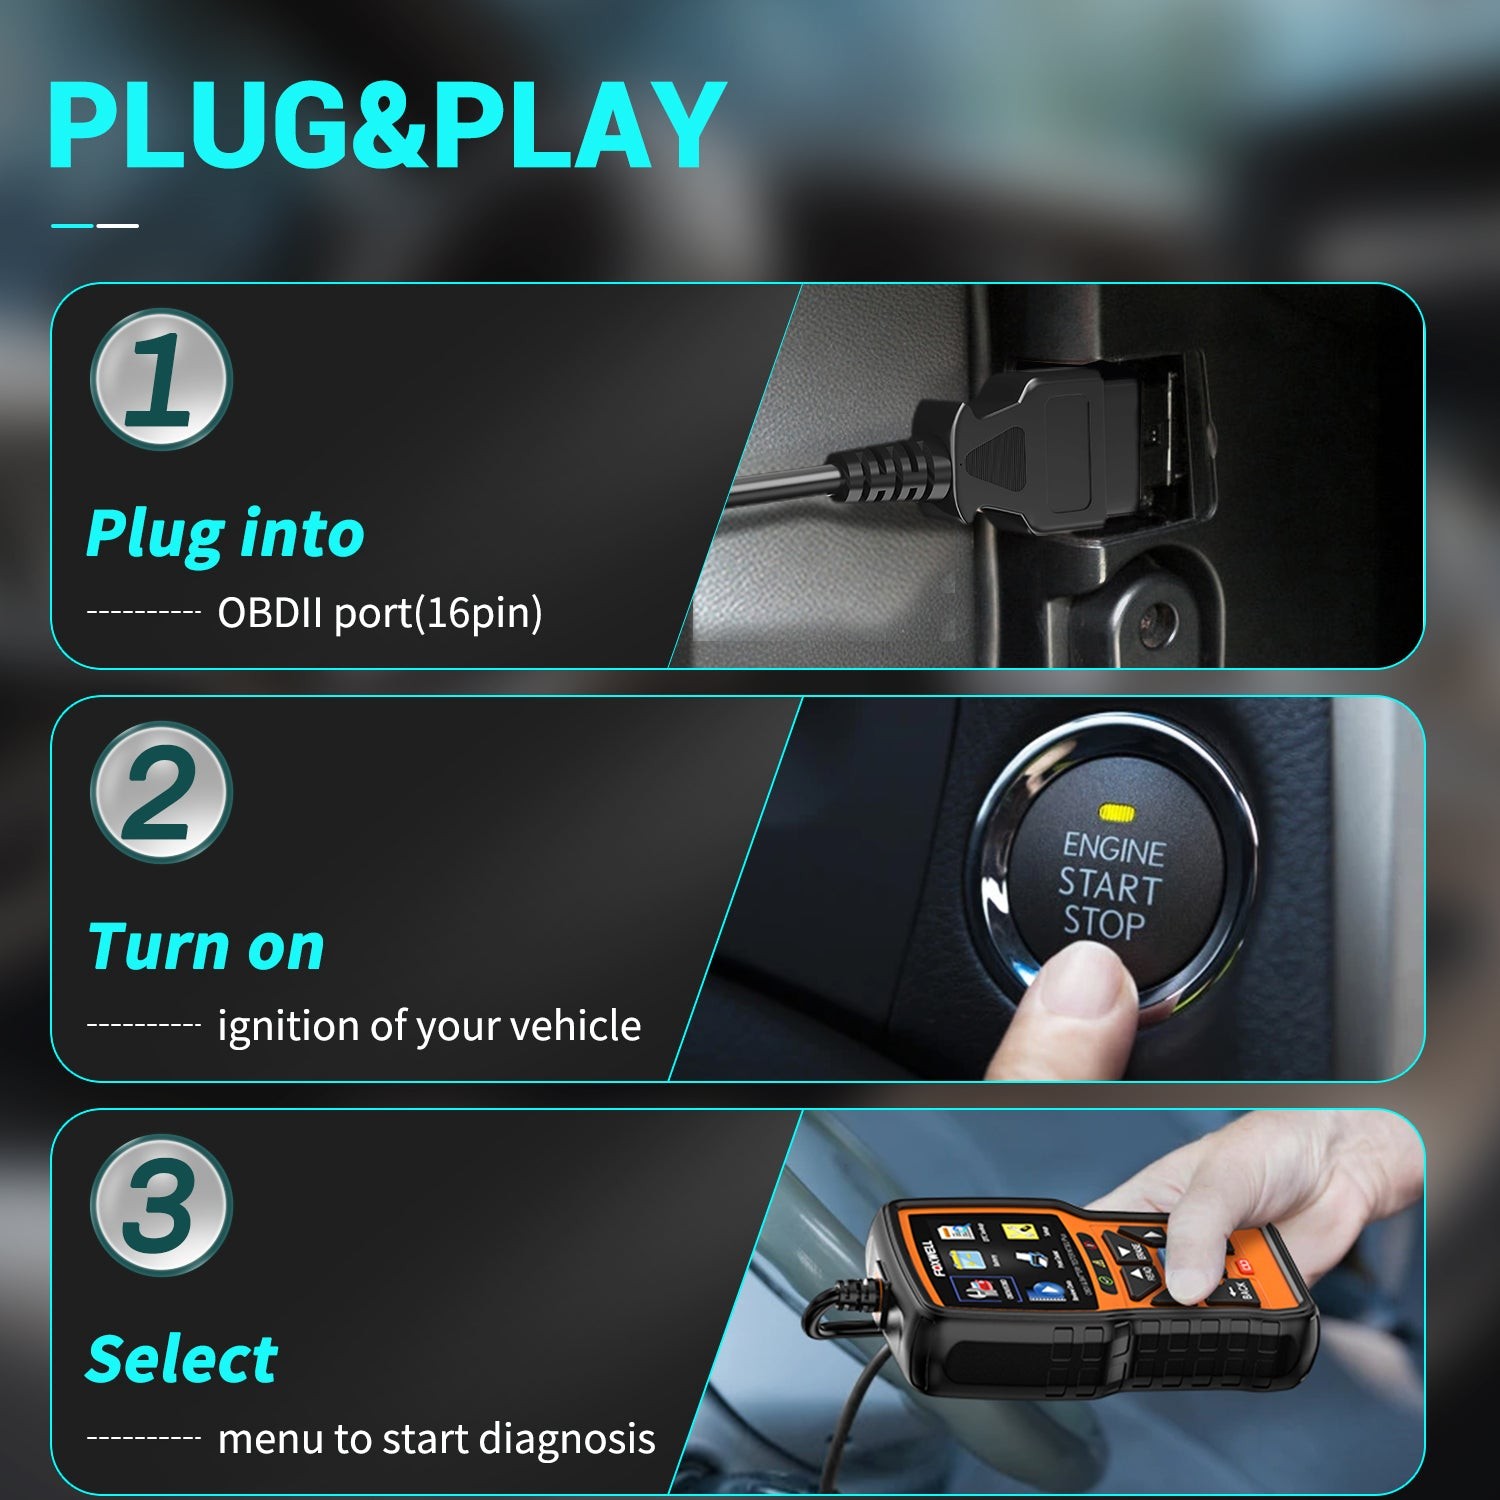
- Locate the OBD2 Port: Typically, the OBD2 port is situated under the dashboard on the driver’s side. It might be near the steering column or above the pedals.
- Establish Connection: Plug the Foxwell NT710 securely into the OBD2 port, ensuring a firm connection.
Powering Up the Scanner:
- Ignition ON: Turn your vehicle’s ignition to the “ON” position without starting the engine (unless the test specifically requires the engine to be running).
- Power On Scanner: The NT710 should power on automatically once connected. If not, press the power button on the device.
Navigating to the Diagnostic Menu:
- Vehicle Selection: Enter your vehicle’s make, model, and year. This helps the scanner use the correct diagnostic protocols.
- Access Electrical System Diagnostics: Navigate the scanner menus to find the electrical system diagnostics section. This might be under “Control Modules,” then “Body Control Module,” or directly under an “Electrical Systems” heading.
Running Diagnostics:
- Retrieve Trouble Codes: Start by checking for Diagnostic Trouble Codes (DTCs) stored in the vehicle’s computer. The NT710 will display any present codes and provide brief descriptions of the issues.
- Monitor Live Data: Access the live data stream to observe real-time readings from electrical components. Examine voltages, currents, and other relevant data that can indicate the health of electrical systems.
Analyzing the Data:
- Interpret Codes and Data: Use the information from the DTCs and live data to pinpoint potential problems. Compare the readings against expected values, which can usually be found in your vehicle’s service manual.
- Component-Specific Tests: If the scanner highlights issues with specific components like switches, sensors, or relays, you might need to perform further tests such as voltage drop tests, resistance measurements, and continuity tests.
Resolution and Verification:
- Perform Repairs: Based on your diagnosis, carry out necessary repairs, which might include replacing faulty components or repairing wiring.
- Clear Codes: After completing repairs, use the NT710 scanner to clear the diagnostic trouble codes from the vehicle’s computer.
- Re-test the System: Run the diagnostics again to ensure that all electrical issues have been resolved and that no new codes appear.
Documentation:
- Record Findings: Keep a detailed log of the diagnostic process, including codes, readings, repairs made, and results. This documentation is valuable for future maintenance and in case the issue recurs.
By following these detailed steps, you can effectively utilize the Foxwell NT710 OBD2 scanner for electrical problems to diagnose and resolve electrical issues in your vehicle. This systematic approach ensures your vehicle remains in optimal condition and enhances your proficiency in automotive electrical diagnostics.
Troubleshooting Tips Using OBD2 Data
An OBD2 scanner for electrical problems provides a wealth of data that is crucial for diagnosing and resolving issues in modern vehicles. The ability to accurately interpret this data is key to effective repairs and proactive vehicle maintenance. Here are guidelines for interpreting scanner data and tips for addressing common issues like intermittent faults and error codes.
Interpreting Scanner Data for Effective Troubleshooting
Understanding Diagnostic Trouble Codes (DTCs): OBD2 scanners display DTCs, which are essential for identifying problems. Each code has a specific meaning, pointing to potential issues within different systems. For example, codes starting with ‘P’ typically relate to powertrain issues, which can include engine or transmission problems.
Analyzing Live Data Streams: OBD2 scanners can stream real-time data from various sensors, including engine temperature, RPM, and oxygen sensor readings. To effectively use live data:
- Compare to Normal Values: Understand the normal operating ranges for each data parameter for your specific vehicle (usually found in the service manual).
- Identify Outliers: Data that significantly deviates from normal ranges can clearly indicate the source of a problem.
Leveraging Freeze Frame Data: Many scanners can capture freeze frame data, which is a snapshot of the vehicle’s condition at the moment a fault was detected. This is particularly useful for diagnosing intermittent problems that may not be present during a diagnostic session.
Graphing Data Over Time: Utilize the graphing capabilities of your scanner to plot data over time. This can help reveal patterns or inconsistencies in the electrical system that are not obvious from static data readings alone.
Tips for Resolving Common Electrical Issues
Intermittent Faults:
- Check Grounds and Connections: Many intermittent faults are caused by poor connections or grounding issues. Inspect all electrical connectors for looseness, corrosion, or damage.
- Wiring Harness Flex Test: Gently flex wiring harnesses while monitoring live data to see if you can trigger the fault to appear. This can help pinpoint wiring problems.
- Component Testing: Use the scanner to activate and deactivate components while monitoring live data. This can help reveal issues that only occur when a component is in operation.
Error Codes:
- Prioritize Multiple Codes: If multiple codes are present, address them in the order they appear, as one issue can sometimes trigger a cascade of subsequent errors.
- Consult Resources: Use service manuals, online automotive forums, and repair databases to understand the typical causes and solutions for each specific DTC.
- Clear and Re-test: After addressing the issues indicated by the codes, clear the codes using the scanner and then re-run the diagnostic scan to ensure the problem is resolved and no new codes appear.
General Troubleshooting Tips:
- Keep Scanner Firmware Updated: Regularly update your scanner’s firmware and software to ensure it has the latest features and vehicle compatibility.
- Regular Calibration: Sensors and components that require calibration (like throttle position sensors) should be checked and calibrated according to manufacturer guidelines to prevent inaccurate readings.
- Document Everything: Maintain a comprehensive record of all diagnostic codes, repairs, and results. This history is invaluable for tracking recurring issues over time.
By mastering the interpretation of OBD2 scanner data and applying these troubleshooting techniques, you can more effectively diagnose and repair vehicle problems, minimizing downtime and costly uncertainties. This proactive approach ensures thorough and precise maintenance, extending the lifespan and performance of your vehicle.
Conclusion
An effective approach to using an OBD2 scanner for electrical problems goes beyond simply plugging in a device and reading codes. It requires a deep understanding of vehicle systems, careful data analysis, and a methodical troubleshooting process that goes beyond superficial fixes. Each step in the diagnostic process is critical and can be the difference between a quick resolution and a more significant problem down the road.
Whether you are troubleshooting a complex electrical system, addressing engine issues, or performing routine maintenance, an OBD2 scanner is a powerful and versatile tool. Integrating this tool into your vehicle maintenance routine ensures your vehicle remains a reliable companion, ready to tackle the demands of modern driving with confidence.