Let’s face it, when that check engine light pops up, it often feels like your car is speaking a language you just don’t understand. But what if you could easily translate those cryptic signals and get a clear picture of your vehicle’s health right on your PC? That’s where the magic of connecting your PC to a WiFi OBD2 scanner comes into play. Devices like the feature-rich Foxwell NT809BT are revolutionizing how car owners and enthusiasts diagnose and maintain their vehicles. Imagine the power of detailed diagnostics and real-time data analysis, all from the comfort of your computer.
If you’re ready to bridge the gap between your car’s onboard computer and your PC, and gain a deeper understanding of what’s happening under the hood, this guide is for you. We’ll walk you through the simple steps to connect your PC to a WiFi OBD2 scanner, empowering you to take control of your car’s diagnostics like a pro.
Understanding the Power of an OBD2 Scanner
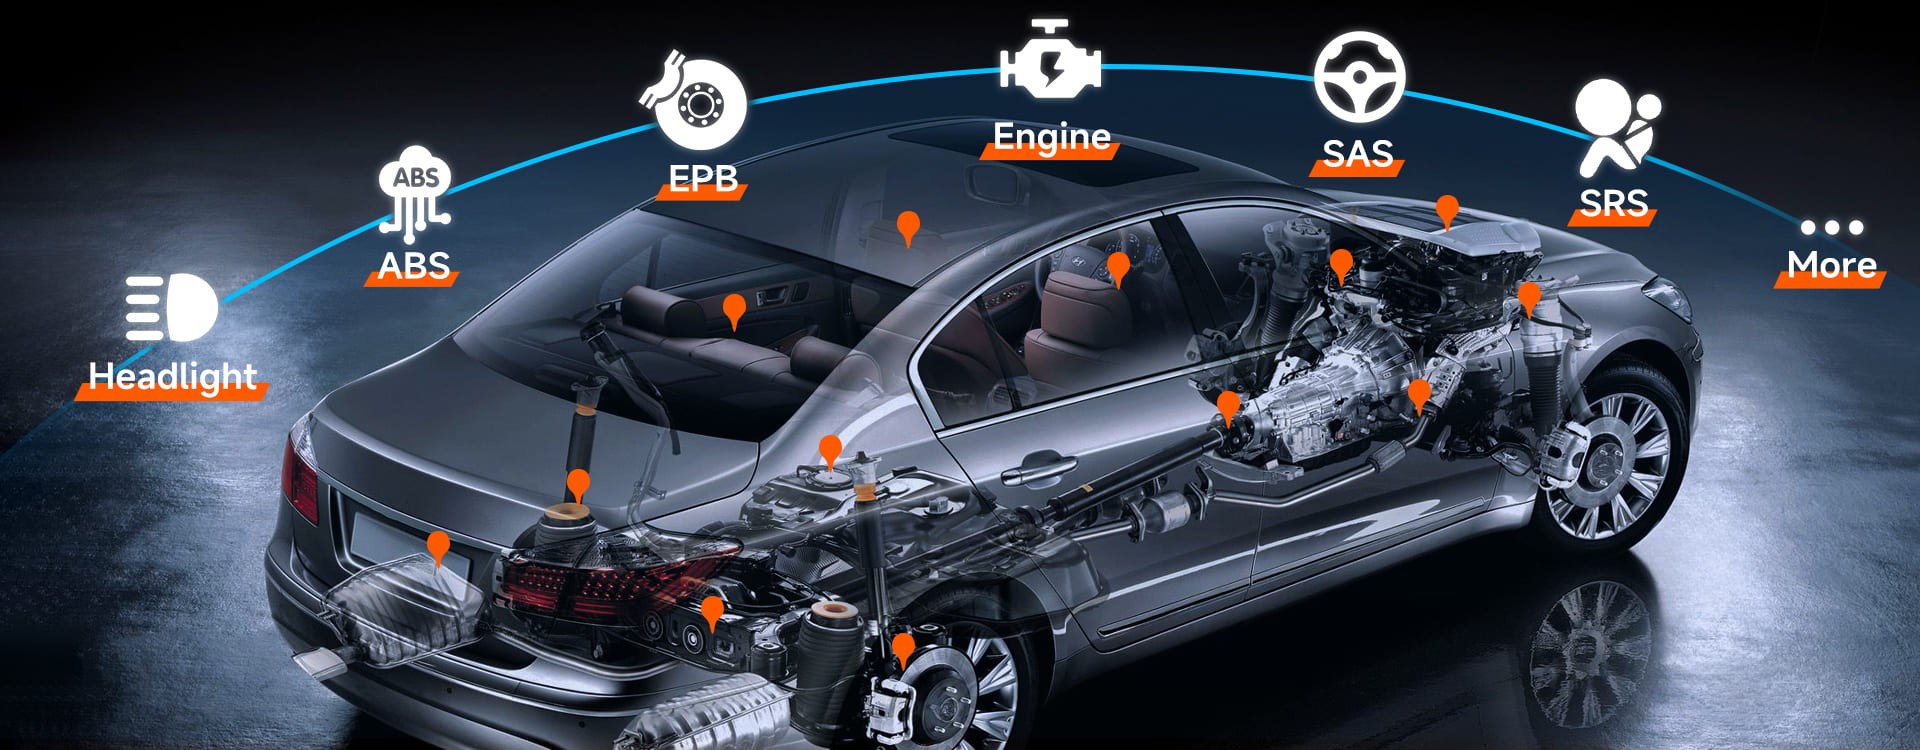 Car Scanner Functions | Foxwell
An OBD2 scanner, at its core, acts as a vital communication bridge with your car’s internal systems. Think of it as a universal translator that deciphers the complex language of your vehicle’s onboard computer. It accesses a wealth of data, from engine performance metrics and fuel efficiency readings to those all-important diagnostic trouble codes (DTCs) that signal when something isn’t quite right.
WiFi-enabled OBD2 scanners, such as the highly recommended Foxwell NT809BT, take this functionality to the next level. They eliminate the need for cumbersome cables, offering a seamless wireless connection to your PC, smartphone, or tablet.
Here’s why investing in a WiFi OBD2 scanner like the NT809BT is a smart move:
- Comprehensive System Diagnostics: Go beyond just engine codes. These scanners delve into various vehicle systems, including ABS, transmission, airbags, and more, providing a holistic view of your car’s condition.
- Live Data Streaming: Monitor real-time parameters like RPM, coolant temperature, O2 sensor readings, and fuel trims. This live data is invaluable for diagnosing intermittent issues and understanding dynamic system behavior.
- Enhanced Convenience with WiFi: Enjoy the freedom of wireless connectivity. No more wrestling with cables or being confined to the driver’s seat. Diagnose your car comfortably from your PC, whether in the garage or indoors.
- User-Friendly Operation: Modern WiFi OBD2 scanners are designed for ease of use, even for those with limited automotive experience. The NT809BT, for example, boasts an intuitive interface and straightforward connection process.
Whether you’re a seasoned DIY mechanic, a car enthusiast eager to learn more, or simply a proactive car owner looking to save on repair costs and prevent unexpected breakdowns, a WiFi OBD2 scanner is an indispensable tool.
Preparing for Connection: What You Will Need
Before you begin connecting your Foxwell NT809BT or similar WiFi OBD2 scanner to your PC, ensure you have the following essentials ready:
- WiFi-Enabled PC or Laptop: A computer with a working WiFi adapter is necessary to establish a wireless connection with the scanner.
- Foxwell NT809BT OBD2 Scanner: This guide specifically references the NT809BT, but the general steps are applicable to many WiFi OBD2 scanners. Ensure your scanner is charged or properly powered.
- Vehicle with OBD2 Port Access: Locate your car’s OBD2 port. It’s typically situated under the dashboard on the driver’s side, often near the steering column. Consult your vehicle’s owner’s manual if you are unsure of its exact location.
- Diagnostic Software for PC: You’ll need diagnostic software installed on your PC to interpret the data from the scanner. Popular options include:
- Dedicated Software (Foxwell PC Suite): Foxwell and other scanner manufacturers often provide their own PC software, which is typically optimized for their devices and offers advanced features.
- Generic OBD2 Software (Torque Pro, OBD Auto Doctor): Versatile third-party software options like Torque Pro (Android-based, can be emulated on PC) and OBD Auto Doctor are compatible with a wide range of scanners and provide robust diagnostic capabilities.
Important Pre-Connection Step: Turn your car’s ignition to the “ON” position (without starting the engine). This activates the car’s computer systems and OBD2 port, allowing the scanner to establish a connection.
Step-by-Step Guide: Connecting Your WiFi OBD2 Scanner to PC
Follow these detailed steps to successfully connect your NT809BT or similar WiFi OBD2 scanner to your PC:
Step 1: Physical Connection to OBD2 Port
First, physically connect your Foxwell NT809BT scanner to your vehicle’s OBD2 port.
- Locate the OBD2 port, as mentioned earlier (usually under the dashboard).
- Firmly plug the NT809BT into the port until you hear or feel a click, ensuring a secure connection.
- The scanner should power on automatically, indicated by illuminated indicator lights and potentially a startup screen on the device itself (if applicable).
Step 2: Establish WiFi Connection to the Scanner
Now, connect your PC to the WiFi network broadcast by the NT809BT scanner.
- On your PC, open your WiFi settings or network manager.
- Scan for available WiFi networks.
- Look for the WiFi network name associated with your Foxwell scanner. This is often something like “NT809BT_WIFI” or similar, clearly identifying the device. Refer to your scanner’s manual for the exact network name if you are unsure.
- Select the scanner’s WiFi network and click “Connect”.
- You will likely be prompted for a password. The default WiFi password for OBD2 scanners is frequently “1234” or “password”. Check your scanner’s manual for the correct password if the default doesn’t work.
- Wait for your PC to establish a successful WiFi connection to the scanner’s network.
Step 3: Configure Diagnostic Software Settings
Next, configure your chosen diagnostic software on your PC to communicate with the scanner over WiFi.
- Launch your diagnostic software (e.g., Foxwell PC Suite, Torque Pro, OBD Auto Doctor).
- Navigate to the software’s settings or connection menu. The exact menu name may vary depending on the software.
- Look for connection type options. Select “WiFi” or “Wireless” as your connection method.
- You may need to enter the scanner’s IP address and port number. This information is crucial for establishing communication. You can typically find the IP address and port number in your scanner’s manual or within the scanner’s “About” or “Settings” menu (accessible via the scanner’s screen, if equipped). Common default IP addresses are often in the range of 192.168.0.XXX or 192.168.1.XXX. The port number is usually a specific number like 35000 or similar. Consult your NT809BT manual for the precise IP address and port number.
- Enter the correct IP address and port number into the software’s settings.
- Save the connection settings within your diagnostic software.
Step 4: Test and Verify the Connection
Finally, test the connection to ensure everything is set up correctly and data is flowing from your car to your PC.
- Within your diagnostic software, look for a “Test Connection” or “Connection Status” button or option.
- Click the “Test Connection” button.
- The software will attempt to communicate with the scanner and your vehicle’s computer.
- If the connection is successful, you should receive a confirmation message within the software, indicating a successful connection. You may also start to see real-time data streaming from your car displayed in the software interface, such as engine RPM, sensor readings, etc.
- If the connection fails, double-check all previous steps, particularly the WiFi password, IP address, and port number settings. Refer to the troubleshooting section below if you encounter persistent issues.
Once you have a successful connection, you are ready to utilize the full diagnostic capabilities of your WiFi OBD2 scanner on your PC!
Why the Foxwell NT809BT Stands Out
The Foxwell NT809BT isn’t just another OBD2 scanner; it’s a powerful diagnostic tool packed with features that make it a top choice for both DIYers and professional technicians:
- Effortless WiFi Updates: Keep your scanner current with the latest vehicle models and diagnostic protocols through convenient over-the-air WiFi updates. This ensures compatibility and access to the newest features without the hassle of manual updates via USB.
- Comprehensive System Coverage: The NT809BT goes far beyond basic engine code reading. It provides in-depth diagnostics for all major vehicle systems, including ABS (Anti-lock Braking System), SRS (Supplemental Restraint System/Airbags), Transmission, TPMS (Tire Pressure Monitoring System), and many more, offering a complete picture of your vehicle’s health.
- Versatile Operation Modes: Use the NT809BT as a standalone handheld scanner with its intuitive touchscreen interface for quick on-the-go diagnostics. Or, connect it to your PC for more in-depth analysis, data logging, and report generation using PC-based diagnostic software. This flexibility caters to various diagnostic scenarios and user preferences.
For its combination of features, ease of use, and comprehensive diagnostic capabilities, the Foxwell NT809BT represents excellent value and is a worthwhile investment for anyone serious about vehicle maintenance and diagnostics.
Troubleshooting Common Connection Issues
Encountering problems while connecting your WiFi OBD2 scanner to your PC? Here are some common troubleshooting steps:
PC Not Detecting Scanner’s WiFi Network
- Verify Scanner Power: Double-check that the NT809BT is securely plugged into the OBD2 port and is powered on. Look for indicator lights on the scanner.
- Ignition “ON”: Ensure your car’s ignition is switched to the “ON” position (engine off) to activate the OBD2 port.
- Scanner WiFi Enabled: Confirm that the scanner’s WiFi functionality is enabled. Some scanners may have a WiFi on/off setting in their menu.
- PC WiFi Enabled: Make sure WiFi is enabled on your PC and that it is actively scanning for networks.
- Proximity: Ensure your PC is within a reasonable WiFi range of the scanner. Move closer if necessary.
Software Fails to Read Data After Connection
- Correct IP and Port: Double-check that you have entered the correct IP address and port number for your scanner in the diagnostic software settings. Refer to your scanner’s manual for this information.
- Software Compatibility: Ensure that your diagnostic software is compatible with WiFi OBD2 scanners and supports the communication protocols used by your NT809BT.
- Restart Devices: Try restarting both your NT809BT scanner and your PC. This can often resolve temporary software glitches.
- Firewall/Antivirus: Temporarily disable any firewall or antivirus software on your PC to rule out interference with the connection. If this resolves the issue, you may need to create exceptions in your firewall/antivirus for your diagnostic software and the scanner’s network communication.
Intermittent or Dropping Connection
- WiFi Signal Strength: Check the WiFi signal strength between your PC and the scanner. A weak signal can lead to dropped connections. Try moving closer to the scanner or reducing interference sources.
- Firmware Updates: Check for firmware updates for your Foxwell NT809BT. Manufacturers often release updates to address bugs and improve performance, including connection stability. Update your scanner’s firmware through its WiFi update feature if available.
- Channel Interference: In congested WiFi environments, channel interference can cause connection drops. If you are technically inclined, you can try changing the WiFi channel on your router (though the scanner itself usually operates on a fixed channel).
Tips for Maximizing Your Diagnostic Setup
To get the most out of your WiFi OBD2 scanner and PC setup:
- Regular Firmware Updates: Keep your Foxwell NT809BT’s firmware updated. This ensures optimal performance, compatibility with newer vehicles, and access to the latest features and bug fixes.
- Software Customization: Explore the customization options within your diagnostic software. Configure dashboards and displays to show the specific data parameters that are most relevant to your diagnostic tasks.
- Data Logging and Reporting: Utilize your PC software’s data logging capabilities to record live data streams during test drives or while troubleshooting intermittent problems. Generate diagnostic reports to document findings, track vehicle history, and share information with mechanics if needed.
Final Thoughts: Unleash the Diagnostic Power of Your PC
Connecting your PC to a WiFi OBD2 scanner like the Foxwell NT809BT unlocks a new dimension of automotive diagnostics. It empowers you with detailed insights, real-time data visualization, and comprehensive system analysis, all conveniently accessible on your computer screen. Whether you are tackling a mysterious check engine light, monitoring your car’s performance, or proactively maintaining your vehicle, this setup provides the tools and information you need to stay in control of your car’s health.
So, take the plunge, connect your NT809BT to your PC, and experience the future of car diagnostics today. You’ll wonder how you ever managed without this powerful combination!
Frequently Asked Questions
How do I connect my OBD2 scanner wirelessly to my computer?
To connect wirelessly, plug your WiFi OBD2 scanner into your car’s OBD2 port, connect your PC to the scanner’s WiFi network, and then configure your diagnostic software with the scanner’s IP address and port number.
What is the process for using a WiFi OBD2 scanner?
The process involves connecting the scanner to your car, establishing a WiFi connection between the scanner and your device (PC, smartphone, etc.), and using a compatible app or software to read and interpret the diagnostic data.
Can I diagnose car problems using my computer?
Yes, by connecting a WiFi OBD2 scanner to your car and linking it to your computer running diagnostic software, you can effectively diagnose a wide range of car problems, access detailed vehicle data, and perform advanced diagnostic procedures.