Is your OBD2 port feeling loose? A wobbly OBD2 port can be more than just an annoyance; it can disrupt the connection needed for crucial car diagnostics. If you’ve been experiencing intermittent issues with your OBD2 scanner or simply noticed your port isn’t as secure as it should be, you might be facing this common problem. Before you consider replacing the entire port, which can be costly and time-consuming, this guide will walk you through a simple DIY fix to tighten those connections and restore reliable access to your vehicle’s diagnostic system. This straightforward repair focuses on re-tensioning the internal connectors within the OBD2 port itself, often resolving the issue without needing any new parts.
To begin, you’ll need to carefully access the back of the OBD2 port to work on the internal wiring. The first step is to detach the port from its mounting bracket.
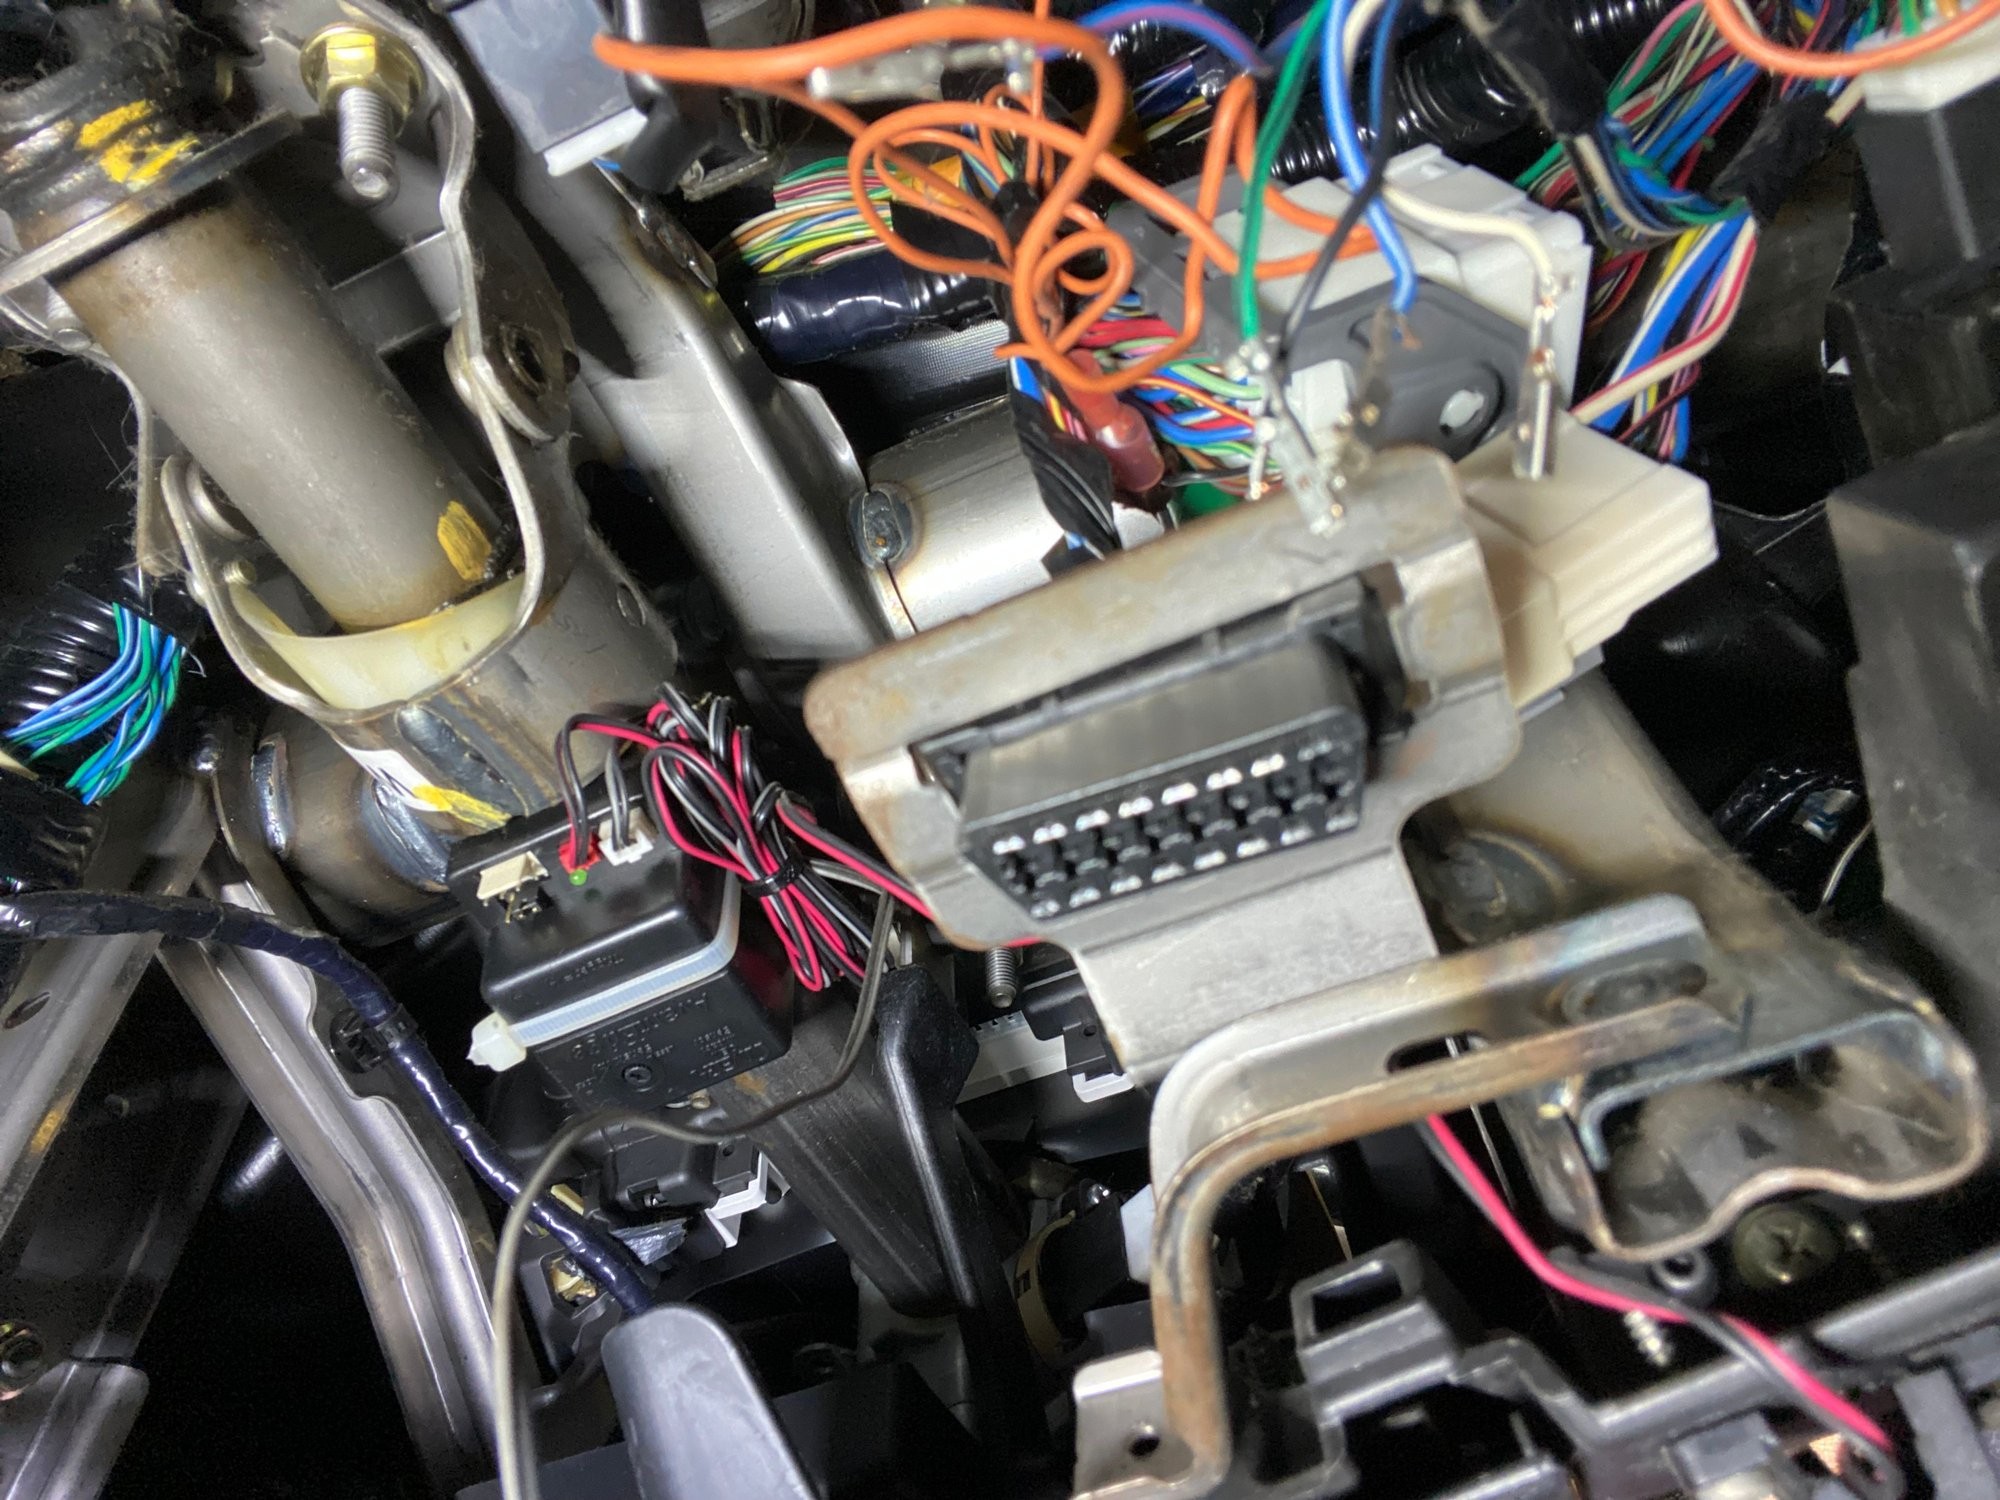
Close-up view of an OBD2 port still attached to its metal mounting bracket, highlighting the typical assembly found in many vehicles.
To remove the OBD2 port from its bracket, locate the plastic tabs on each side of the port. These tabs are designed to clip into the bracket, holding the port firmly in place. Using your fingers or a small tool, gently push these tabs inwards. Simultaneously, push the OBD2 port upwards and outwards from the bracket. Often, maneuvering the port slightly to one side while pressing a tab on the opposite side can make the release easier. Here’s a closer look at those retaining tabs:
Detailed image showcasing the plastic tabs on the side of an OBD2 port that need to be depressed to release it from its mounting bracket.
Once the port is detached, you’ll see the wiring harness connected to the back. Before proceeding further, take pictures of the wire arrangement and note down the color sequence of the wires and their positions within the connector. This is crucial for correct reassembly. Next, you’ll need to remove a small white plastic retainer clip. This clip secures the wires within the OBD2 port housing.
Image illustrating the process of using a probe to lift the white plastic retainer clip on an OBD2 port, preparing to release individual wires.
As shown, use a small probe or a pick to gently pry up the white plastic clip. This clip usually sits under a black tab, so you might need to carefully slide your probe underneath the white clip to fully disengage it. With the retainer removed, you can now access the individual wire terminals.
Close-up of a probe correctly positioned to depress the release tab on an OBD2 wire terminal, allowing for wire removal.
To release each wire, you’ll need to insert a thin probe into the front of the OBD2 connector, alongside each wire terminal. Inside the connector, there’s a small plastic tab that secures each terminal. When you correctly press this tab with your probe, you’ll feel the wire loosen slightly. Do not force the wires out; ensure the release tab is properly engaged.
The key to fixing a loose OBD2 port is often re-bending the internal metal tabs within the connector that make contact with the pins of your OBD2 scan tool. These tabs can sometimes become flattened or lose tension over time, leading to a poor connection.
Simplified diagram demonstrating how to insert a probe and gently re-bend the internal metal contact tab within an OBD2 connector to improve connection.
Using your probe, carefully insert it into the connector and locate the metal tab. You need to push the probe in deeply, reaching the bent portion of the metal connector tab. Gently lever the probe to slightly bend the metal tab upwards, increasing its tension. Repeat this process for each terminal within the OBD2 port.
Image displaying a selection of precision probes, including bent probes ideal for accessing and adjusting internal OBD2 connector tabs, highlighting tools that facilitate this repair.
After re-bending the tabs, carefully reinsert each wire into its correct position in the OBD2 port. You should feel a click as each terminal locks back into place. Avoid forcing the wires; if they don’t insert easily, double-check the terminal orientation and ensure the internal tabs are correctly positioned. Small bent nose pliers can be helpful for delicate adjustments, but be cautious not to damage the wires, especially near the crimped section where the terminal meets the wire.
By re-tensioning these internal connectors, you’ll often find that your OBD2 port is now snug and provides a reliable connection. This DIY fix is a cost-effective solution to a common problem and can save you from unnecessary part replacements. While this repair is usually effective, remember that it’s a temporary fix. For a truly permanent solution, replacing the entire OBD2 port and its terminals might be necessary, ideally using manufacturer-specified parts. However, for a quick and affordable way to fix a loose OBD2 port and get your diagnostic tools working again, this method is well worth trying.