怀旧感与现代汽车技术的碰撞?将经典的掌上游戏机 Game Boy 变成车载 OBD2 显示器,为您的爱车注入独特的复古魅力!灵感源自 Zaku Mods 爆火的 Game Boy 车速表改装,我们为您带来更进一步的 DIY 指南,教您打造个性十足的 Game Boy OBD2 显示屏。无论您是 90 年代复古风的忠实拥趸,还是热衷于汽车 DIY 改造的极客,都能从中找到乐趣。让我们一起重温童年经典,让您的爱车仪表盘也焕发 Game Boy 的光彩!
This project blends the nostalgic charm of the Nintendo Game Boy with the functionality of modern car diagnostics. Inspired by the viral Game Boy speedometer mod by Zaku Mods, we’re taking it a step further and showing you how to create your own Game Boy OBD2 display. This unique DIY project is perfect for car enthusiasts who appreciate retro aesthetics and want to add a personalized touch to their vehicle’s dashboard. If you grew up in the 90s, glued to a Game Boy screen, and love tinkering with cars, this guide is for you. Let’s dive into how you can bring a piece of your childhood into your car and monitor your vehicle’s data in retro style.
Having spent years immersed in car culture and retro design through events like Retro Meet and my design agency, LUE Creative, I’m always looking for ways to merge these passions. The idea of repurposing a Game Boy, especially after creating custom Game Boy trophies for our Retro Meet event, felt like a natural and exciting progression. When I saw Zaku Mods’ speedometer, it sparked an idea: could we tap into the car’s computer itself and display real-time OBD2 data on that iconic screen? After some research and brainstorming, the answer was a resounding yes! While readily available “Game Boy OBD2” kits might be scarce, the DIY approach opens up a world of customization and satisfaction.
This guide will walk you through the process of building your own Game Boy OBD2 display, drawing inspiration from existing GPS speedometer mods but adapting it to read and display data from your car’s OBD2 port. While the original project focused on GPS speed, we’ll explore how to integrate OBD2 functionality to monitor parameters like engine temperature, RPM, speed (via OBD2), and more, all on a classic Game Boy screen.
Building Your Own Game Boy OBD2 Display: A Step-by-Step Guide
While the images illustrate the physical modification process using a GPS speedometer as a visual guide, the core principles of disassembly, shell modification, and creative mounting remain the same for an OBD2 display project. Imagine adapting these steps to house a small OBD2 display module instead of the GPS unit.
Visual representation of the Game Boy shell modification process, applicable to both GPS speedometer and conceptual OBD2 display projects.
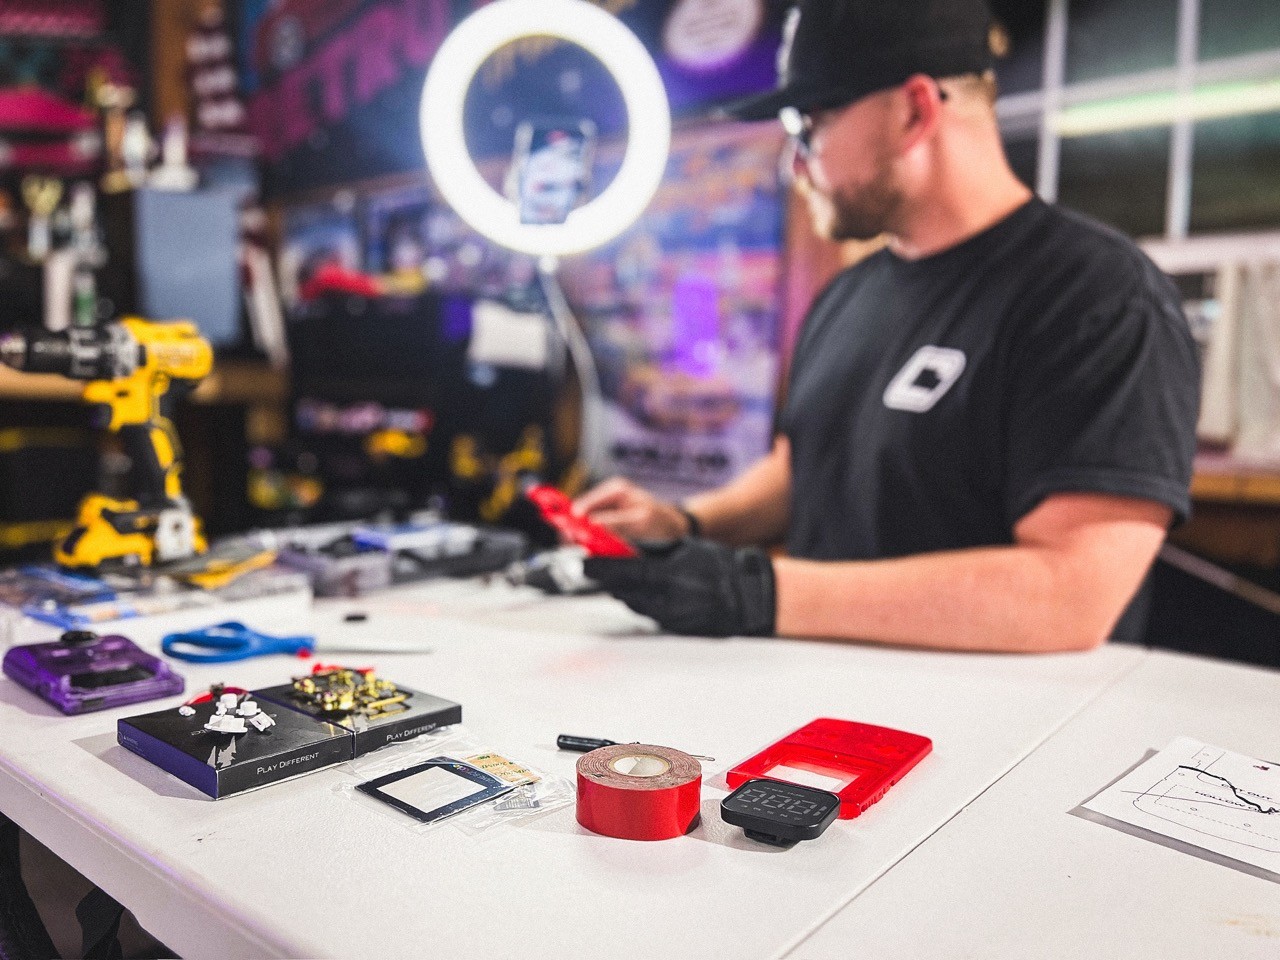
To embark on this DIY journey, you’ll need to gather a few key components and tools. While a direct “Game Boy OBD2 kit” isn’t typically available off-the-shelf, you’ll be combining readily accessible parts to achieve the desired retro-tech fusion.
Essential tools and materials for modifying the Game Boy shell, adaptable for incorporating an OBD2 display module.
Materials & Tools You’ll Need (Adaptable for OBD2 Display):
- Game Boy Shell Replacement: Choose a color that complements your car’s interior or reflects your personal style. These kits typically come with the necessary small screwdrivers.
- OBD2 Display Module: This is the heart of your project. Look for a compact OBD2 display that can output data in a format suitable for the Game Boy screen size, or consider using a small single-board computer (like Raspberry Pi Zero) with an LCD screen to act as the display and OBD2 interface. (Note: Specific modules and integration methods will require research based on your technical skills and desired data display.)
- Rotary Tool (Dremel or similar): For precise cutting and modifying the Game Boy shell.
- X-Acto Knife: For detail work and trimming.
- Cutting Mat: To protect your work surface.
- 3M Tape: For secure and discreet mounting.
- Foam Core Board: For creating a backing or support structure inside the Game Boy shell.
- Optional: Alternative Colored Buttons: To further customize your Game Boy OBD2 display.
- Mounting Solution: Consider a suction cup mount for easy attachment to your windshield or dashboard. You might need a camera cold shoe adapter and RAM-style suction cup mount, similar to the GPS speedometer project.
Let’s get started with the build process, adapting the GPS speedometer steps for our conceptual OBD2 display:
Step 1: Preparation – While this image shows trimming GPS unit mounts, for an OBD2 display, you’ll prepare your chosen module for integration into the Game Boy shell.
Step 1: Prepare Your OBD2 Display Module. Carefully consider how your chosen OBD2 display module will fit within the Game Boy shell. You might need to remove any unnecessary casings or mounts from the module to minimize its size.
Step 2: Marking the Shell – Adapt this step to mark the Game Boy shell for the OBD2 display screen, ensuring proper alignment and fit.
Step 2: Mark the Game Boy Shell. Position your OBD2 display screen on the back of the Game Boy shell where the game cartridge slot would be. Carefully trace the outline of the screen, ensuring it’s centered and positioned as desired. This marked area will be where you’ll create the opening for the display.
Step 3: Cutting the Shell – Use a rotary tool to carefully cut out the marked area, creating space for the OBD2 display screen.
Step 3: Cut the Opening for the Display. Using your Dremel tool, carefully cut along the marked lines to create an opening for the OBD2 display screen. Work slowly and test the fit frequently to avoid overcutting.
Step 4 & 5: Power and Wiring – Consider how you will route power and OBD2 connection to your display module, potentially adapting these steps for wiring.
Step 4 & 5: Power and OBD2 Connection. Plan how you will power your OBD2 display module and connect it to your car’s OBD2 port. Depending on your module, you might need to create a small opening for a power cable or consider a wireless OBD2 adapter. (Detailed wiring and connection steps will depend heavily on your chosen OBD2 module and are beyond the scope of this general guide. Consult the documentation for your specific components.)
[
Step 6: Test Fit the Display. Place the OBD2 display screen into the opening you’ve created. Check for a snug fit and make any necessary adjustments to the shell opening with your Dremel or X-Acto knife.
Step 7: Securing the Display – Use 3M tape or similar adhesive to securely mount the OBD2 display module within the Game Boy shell.
Step 7: Secure the OBD2 Display. Once you’re satisfied with the fit, use 3M tape or another suitable adhesive to securely mount the OBD2 display module to the inside of the Game Boy shell.
Step 8 & 9: Foam Core Support – Adapt the foam core board step to create a backing or support structure for your OBD2 display module within the shell.
Step 8 & 9: Create a Support Structure. Use foam core board to create a backing or support structure that fits behind the OBD2 display within the Game Boy shell. This will help to secure the module and give a cleaner, more finished look. You can adapt the tension board template from the original article or create your own custom shape.
Step 10 & 11: Reassembly – Reassemble the Game Boy shell, carefully aligning the front and back halves.
Step 10 & 11: Reassemble the Game Boy. Carefully place the buttons and rubber contacts into the front shell. Then, align the front and back halves of the Game Boy shell and screw them together, being mindful of the power button alignment.
Step 12: Screen Lens – Apply the new screen lens to complete the Game Boy aesthetic.
Step 12: Apply Screen Lens. Peel off the protective film and adhesive backing from the new Game Boy screen lens and carefully apply it to the front of the completed shell.
Step 13 & 14: Mounting Solution – Adapt the battery door mounting method for your Game Boy OBD2 display to securely attach it in your car.
Step 13 & 14: Create a Mount. If you choose a suction cup mount, adapt the battery door mounting method described in the original article. Attach a threaded disc to the battery door and use a suction cup mount for easy in-car placement. Alternatively, explore other mounting options that suit your needs and car interior.
[
Step 15: Final Mounting and Testing – Mount your Game Boy OBD2 display in your car and ensure it’s functioning correctly.
Step 15: Mount and Test. Mount your completed Game Boy OBD2 display in your desired location in your car. Connect the OBD2 module to your car’s OBD2 port and ensure it powers on and displays data correctly. (Refer to the documentation for your specific OBD2 module for setup and data display configuration.)
Retro Ride Complete – Enjoy the nostalgic touch of your DIY Game Boy OBD2 display in your car!
Hit the Road in Retro Style
By following these steps and adapting them to your chosen OBD2 display module, you can create a truly unique and nostalgic addition to your car. Imagine cruising down the road with your engine vitals displayed on a classic Game Boy screen! This Game Boy OBD2 project is more than just a fun DIY; it’s a statement of personal style, a nod to retro gaming culture, and a way to engage with your car’s data in a completely new way.
Just like the original Game Boy brought a world of adventure to our fingertips, this Game Boy OBD2 display brings a touch of retro fun and modern information to your daily drive. Share your creations and color combinations online, and let’s bring a wave of retro-inspired car mods to the streets!