Want to bring your car’s diagnostics and performance data into your Home Assistant smart home system? With WiCAN and a bit of setup, you can monitor your vehicle’s vital signs directly within Home Assistant. This guide will walk you through the process of connecting your WiCAN OBD2 device to Home Assistant, leveraging the power of MQTT and Node-RED for seamless integration.
Prerequisites
Before you begin, ensure you have the following:
- WiCAN Device: This OBD2 device will act as the bridge between your car’s CAN bus and your Home Assistant setup.
- Home Assistant: A running instance of Home Assistant is essential to integrate the car data.
- Mosquitto Broker Add-on: MQTT is the communication protocol we’ll use, so Mosquitto Broker needs to be installed in your Home Assistant.
- Node-RED Add-on: Node-RED will help us create automations and process the data received from WiCAN.
Step-by-Step Integration Guide
Follow these steps to connect your WiCAN device and start seeing your car’s data in Home Assistant:
-
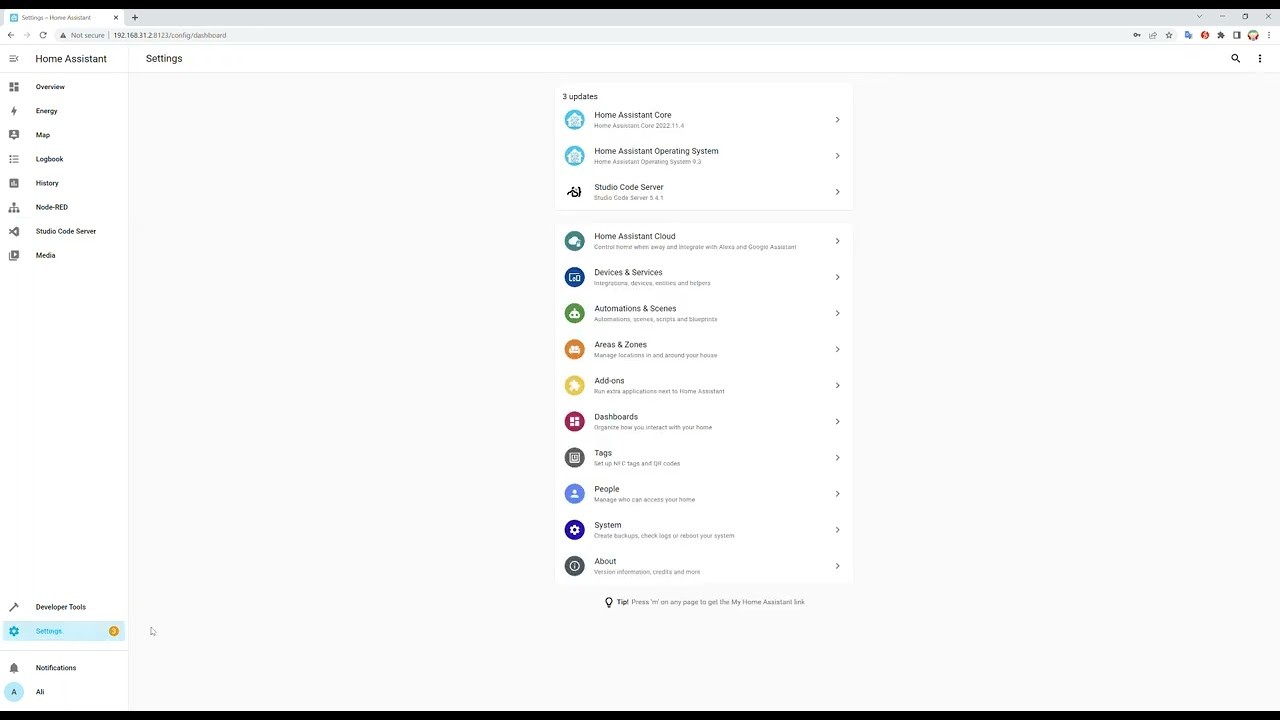
Install Mosquitto Broker: Navigate to your Home Assistant instance, go to “Settings” > “Add-ons,” and install the “Mosquitto Broker” add-on. This MQTT broker will handle the message exchange between WiCAN and Home Assistant.
-
Create a Dedicated Home Assistant User: For security and organization, create a new user account in Home Assistant specifically for WiCAN. Go to “Settings” > “People” and add a new user. Note down the username and password, as these credentials will be used to configure WiCAN’s MQTT settings.
-
Connect to WiCAN Access Point: Power up your WiCAN device and connect to its Wi-Fi access point. The SSID will be in the format
WiCAN_xxxxxxxxxxxx. -
Access WiCAN Web Interface: Once connected to the WiCAN Wi-Fi, open a web browser and go to
http://192.168.80.1/. This will open the WiCAN web configuration interface. -
Configure Wi-Fi Mode: In the WiCAN web interface, set the “Mode” to “Ap+Station”. This allows WiCAN to act as both an access point and connect to your home Wi-Fi network simultaneously.
-
Enter Home Wi-Fi Credentials: Provide your home Wi-Fi network’s SSID and Password in the respective fields. This will allow WiCAN to connect to your local network and communicate with Home Assistant.
-
Enable and Configure MQTT: Enable the MQTT option in the WiCAN web interface. Enter the Home Assistant user credentials you created in step 2 (username and password). These credentials will authenticate WiCAN with your MQTT broker.
-
Install Node-RED Add-on: If you haven’t already, install the “Node-RED” add-on from the Home Assistant add-on store. Node-RED will be used to process the MQTT messages from WiCAN and make the data usable in Home Assistant.
-
Import Node-RED Flow: Download the example Node-RED flow file, typically named
wican_example_flow.json, from the WiCAN developer’s resources (often found on their GitHub repository). Edit this file and replace the placeholderdevice_idwith your actual WiCAN device ID. -
Import Flow into Node-RED: Open the Node-RED add-on in Home Assistant and import the edited
wican_example_flow.jsonfile. This flow contains pre-configured nodes to handle WiCAN data. -
Configure MQTT Broker in Node-RED: Double-click the “subscrition” (or similar named) Node in the imported flow. Edit the server settings and enter the IP address of your MQTT broker (usually
localhostor your Home Assistant IP address) and the Home Assistant user credentials created in step 2. -
Deploy Node-RED Flow: Click the “Deploy” button in Node-RED to activate the flow. Node-RED will now start listening for MQTT messages from WiCAN.
-
Configure Home Assistant Sensors: To display the car data in Home Assistant, you need to define MQTT sensors in your
configuration.yamlfile. Add the following lines, adjusting thestate_topic,unit_of_measurement, andvalue_templateaccording to the data you want to monitor and the WiCAN MQTT topic structure.
mqtt:
  sensor:
    - name: "Ambient Temperature"
      state_topic: "CAR1/Amb_Temp"
      unit_of_measurement: "°C"
      value_template: "{{ value_json.amb_temp }}"
    - name: "Fuel Level"
      state_topic: "CAR1/Fuel_Level"
      unit_of_measurement: "%"
value_template: "{{ value_json.fuel_level }}"-
Restart Home Assistant: After modifying
configuration.yaml, restart your Home Assistant instance for the changes to take effect. -
Add Entities to Dashboard: Once Home Assistant restarts, go to your dashboard and add new “Entity” cards to display the newly created MQTT sensors (e.g., “Ambient Temperature,” “Fuel Level”). You should now see live data from your car being displayed in your Home Assistant dashboard.
 WiCAN and Home Assistant Integration Example
By following these steps, you’ve successfully integrated your car’s OBD2 data into Home Assistant using WiCAN, MQTT, and Node-RED. You can now monitor various vehicle parameters, create automations based on car data, and gain deeper insights into your vehicle’s performance and status, all within your smart home ecosystem. This integration opens up possibilities for vehicle health monitoring, fuel efficiency tracking, and customized car-related automations in your smart home.