The electrical system is the nervous system of your vehicle, orchestrating everything from ignition and fuel delivery to advanced driver-assistance systems and in-car comfort features. This intricate network, comprising the battery, alternator, starter, and a complex web of sensors and wiring, is fundamental to a car’s operation. As automotive technology advances, modern vehicles rely even more heavily on sophisticated electrical systems, incorporating digital fuel injection, complex infotainment, and automated driving technologies, all underpinned by precise electrical power and communication.
Understanding Vehicle Electrical Systems: An Overview
At the heart of every car’s electrical system is the battery. It’s the initial power source, providing the necessary energy to start the engine and power electrical accessories when the engine is off. Once the engine is running, the alternator takes over as the primary power generator, recharging the battery and supplying power to the vehicle’s electrical systems. The starter motor, energized by the battery, cranks the engine to initiate the combustion process.
Beyond these core components, a multitude of Electronic Control Units (ECUs) and sensors meticulously manage every aspect of vehicle operation. From engine timing and airbag deployment to brake system management and climate control, these systems are interconnected and reliant on a stable and correctly functioning electrical system.
Why Prompt Electrical Diagnosis is Crucial
Early diagnosis of electrical problems is paramount to maintaining vehicle reliability and performance. Undetected electrical faults can quickly escalate, leading to significant operational issues. For instance, a failing alternator can result in insufficient battery charging, causing unexpected breakdowns or starting failures. Moreover, seemingly minor electrical issues can have major consequences. A corroded battery terminal, if ignored, can increase electrical resistance, leading to overheating wires and potentially causing electrical fires.
Modern vehicles with integrated electronics are particularly vulnerable to cascading failures. A malfunction in one part of the electrical system can trigger problems in seemingly unrelated systems. Therefore, what appears to be an engine performance issue might actually stem from an electrical system fault.
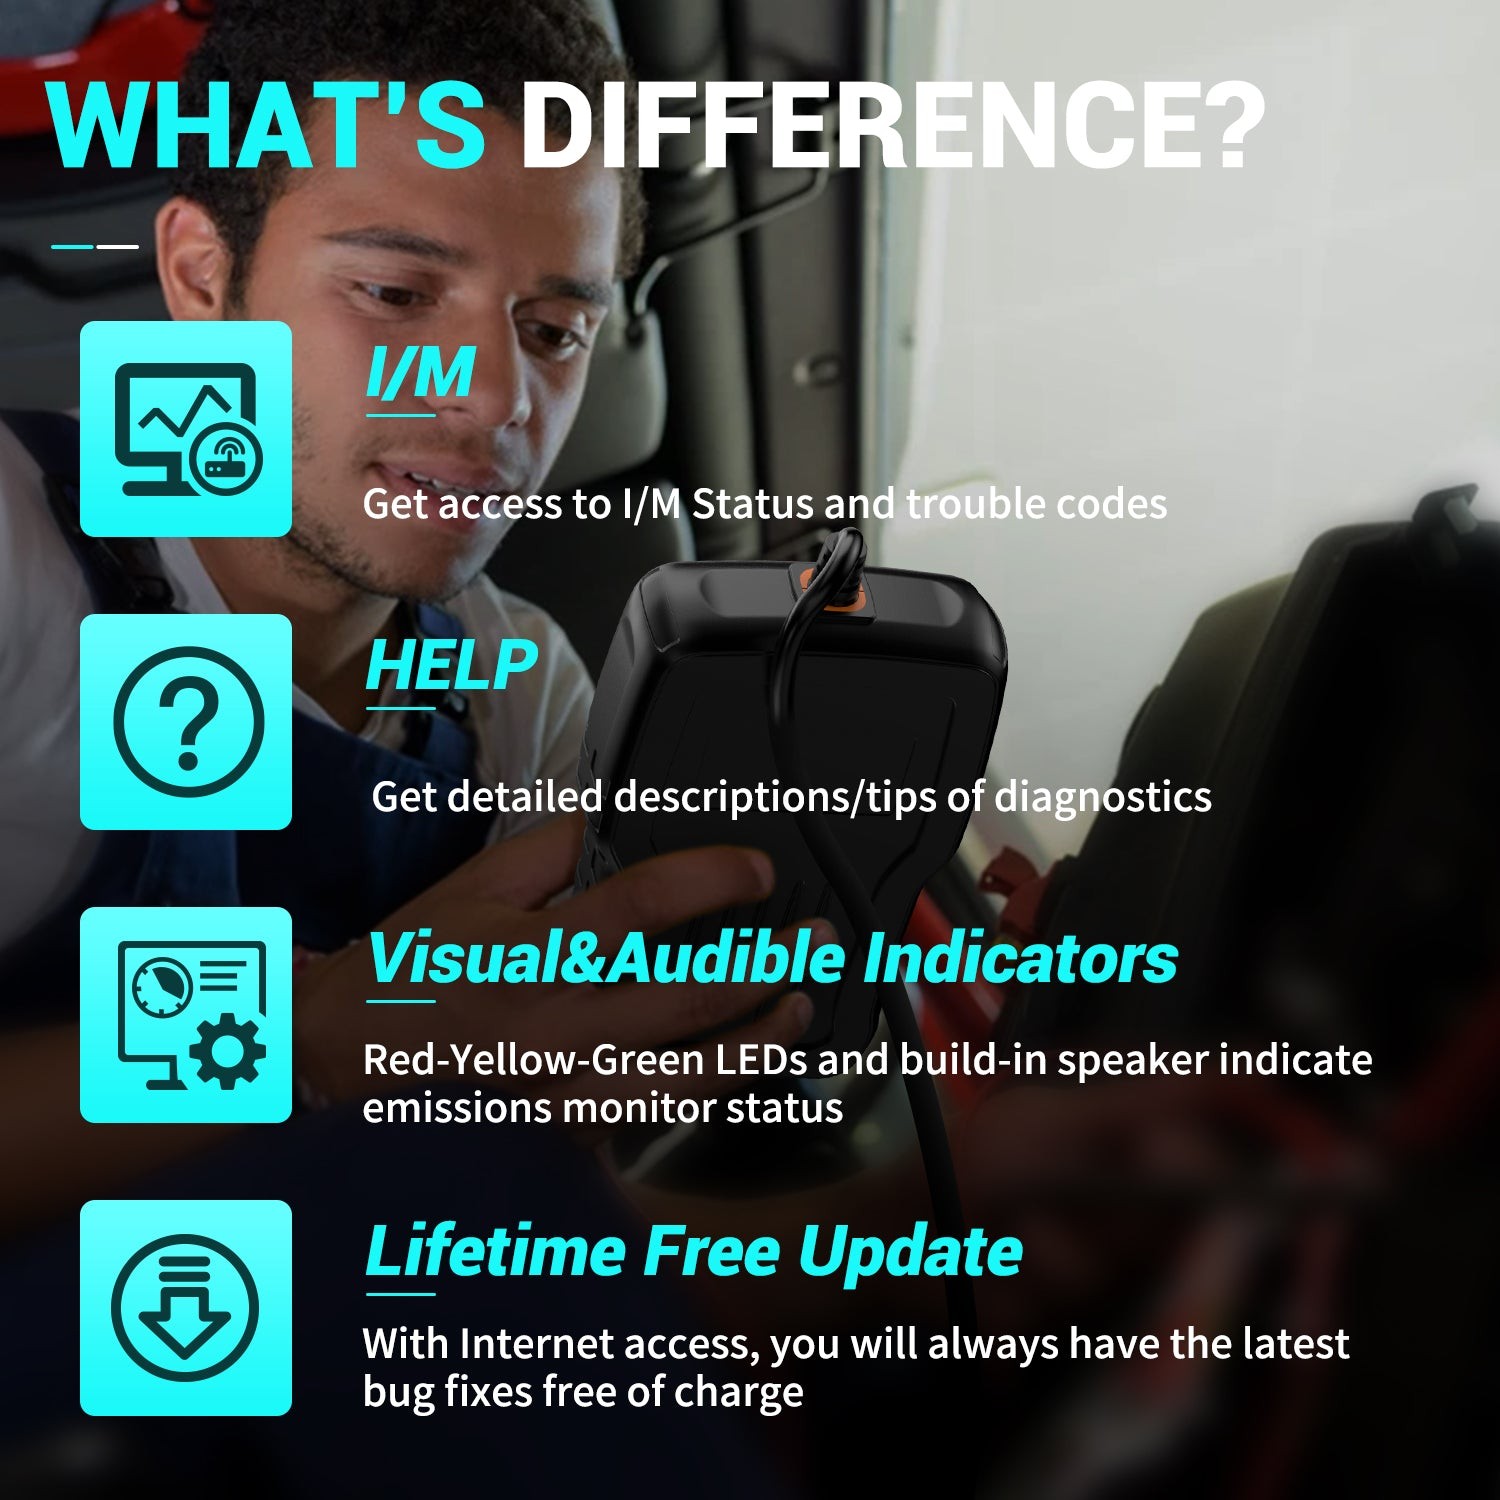
This is where On-Board Diagnostics II (OBD2) scanners become invaluable. These tools are designed to interface with your vehicle’s computer, read diagnostic trouble codes, and provide insights into potential electrical malfunctions. Prompt and accurate diagnosis using OBD2 scanners not only ensures your vehicle’s efficiency but also enhances passenger safety by verifying the functionality of critical safety systems. This guide will delve into how to effectively use OBD2 scanners to identify electrical issues, ensuring the longevity and dependability of modern vehicles.
Key Features of OBD2 Scanners for Electrical Diagnostics
OBD2 scanners are indispensable tools for diagnosing a wide array of automotive issues, especially complex electrical problems that can compromise vehicle performance and safety. These scanners are equipped with specialized features that make electrical diagnostics significantly more efficient and accurate. Let’s explore these features, and then compare the capabilities of two popular Foxwell models: the NT710 and NT809.
Essential Features for Diagnosing Electrical Issues:
-
Live Data Monitoring: This feature allows technicians and vehicle owners to monitor real-time data from the vehicle’s sensors and electronic systems. By observing parameters like voltage outputs, current draw, and signal frequencies, users can pinpoint anomalies indicative of electrical faults. Live data is crucial for observing how electrical components behave under different operating conditions, helping to identify intermittent issues or performance degradations that static tests might miss.
-
Voltage Checks: Many advanced OBD2 scanners can directly measure and display voltage readings from various vehicle systems. This is vital for assessing the health of the battery and alternator. Voltage checks can reveal overcharging or undercharging issues, voltage drops across circuits, and parasitic drains that can lead to battery depletion and system malfunctions. Identifying voltage irregularities is often the first step in diagnosing many electrical problems.
-
Data Graphing: Modern scanners often provide graphing capabilities for live data streams. Visualizing data over time through graphs helps in identifying trends, fluctuations, and intermittent problems within the electrical system. Graphing is particularly useful for capturing transient issues that might not be apparent in snapshot data readings, such as voltage spikes or signal interruptions.
-
Circuit Testing: Some sophisticated scanners offer built-in circuit testing functions. These features allow technicians to directly test the continuity, resistance, and voltage of electrical circuits through the scanner interface. This dynamic testing capability streamlines the diagnostic process by allowing for immediate verification of circuit integrity without the need for separate multimeters in many cases.
-
System-Specific Tests: Advanced OBD2 scanners often include pre-programmed tests for specific electrical systems, such as charging, starting, and battery health tests. These specialized tests automate diagnostic procedures and provide guided steps for assessing the functional status of critical electrical components. System tests can quickly isolate problems within complex systems, saving time and improving diagnostic accuracy.
Model Comparison: Foxwell NT710 vs. NT809
To illustrate the practical application of these features, let’s compare two OBD2 scanner models from Foxwell, a reputable brand in automotive diagnostics:
Foxwell NT710:
- Key Features: OBDII diagnostics, basic special functions (like oil reset, EPB), live data stream, data graphing, voltage checks, code reading and clearing.
- Electrical Diagnostic Strengths: Effective for basic electrical diagnostics, voltage checks, and live data monitoring of electrical parameters. Suitable for DIY users and general automotive repair shops.
- Limitations: Lacks advanced features like bi-directional control and in-depth system testing found in higher-end models.
Foxwell NT809:
- Key Features: Comprehensive OBDII diagnostics, advanced special functions (full system resets, adaptations, coding), bi-directional control (active tests), enhanced live data streaming and graphing, voltage checks, circuit testing capabilities, system-specific tests (charging system, starting system, battery health), user-friendly touchscreen interface, faster processing.
- Electrical Diagnostic Strengths: Excellent for in-depth electrical diagnostics, including comprehensive system testing, active component testing via bi-directional control, and detailed data analysis. Ideal for professional technicians and workshops dealing with complex electrical issues.
- Advantages over NT710: Bi-directional control enables active testing of electrical components (e.g., turning relays on/off), more extensive system tests, faster operation, and a more intuitive user interface, making it more efficient for complex diagnostics.
Comparative Overview:
Both the Foxwell NT710 and NT809 offer robust diagnostic capabilities. However, the NT809 is better equipped for comprehensive electrical diagnostics due to its advanced features like bi-directional control, user-friendly interface, and faster processing. The NT809’s sophisticated capabilities make it particularly suitable for professionals and those working with intricate vehicle electrical systems.
When choosing an OBD2 scanner for electrical diagnostics, consider the features that align with your diagnostic needs and the complexity of the vehicles you typically service. Features like live data monitoring, voltage checks, and bi-directional control are invaluable for effectively diagnosing and resolving vehicle electrical problems. Whether you are a professional technician or a dedicated DIY enthusiast, selecting the right tool, such as the Foxwell NT710 or NT809, depends on the depth of diagnostics required and the complexity of the tasks at hand.
Step-by-Step Guide: Diagnosing Electrical Issues with an OBD2 Scanner
Utilizing an OBD2 scanner, such as the Foxwell NT710, can significantly streamline the process of diagnosing vehicle electrical problems. This step-by-step guide provides detailed instructions on preparing your vehicle and effectively using the scanner to ensure accurate diagnostics and resolutions for electrical issues.
Preparing Your Vehicle and Scanner for Diagnosis
Vehicle Preparation:
- Safety First: Ensure the vehicle is parked in a safe, well-ventilated area. Engage the parking brake and turn off the ignition completely.
- Battery Voltage Check: Reliable electronic diagnostics depend on a stable power supply. Verify that the vehicle’s battery is adequately charged. A weak battery can lead to inaccurate readings or prevent the scanner from functioning correctly. Ideally, battery voltage should be at least 12.4 volts.
Scanner Setup:
- Software Update: Before starting, ensure your Foxwell NT710 scanner is updated with the latest software. This ensures compatibility with the latest vehicle models and access to the most recent diagnostic capabilities. Check the manufacturer’s website for updates and follow their update procedure.
- Familiarization: If you are new to the NT710 scanner, take some time to familiarize yourself with its features and menu navigation. Review the user manual to understand the various functions and how to navigate the menus effectively. Practice navigating through the menus and options before connecting to the vehicle.
Connecting and Diagnosing Electrical Issues
Connecting the Scanner:
- Locate the OBD2 Port: The OBD2 port is typically located under the dashboard on the driver’s side. It may be near the steering column or above the pedals. Refer to your vehicle’s owner manual if you have trouble locating it.
- Establish Connection: Plug the Foxwell NT710 connector securely into the OBD2 port. Ensure it clicks into place for a stable connection.
Powering Up and Initializing the Scanner:
- Ignition ON (Engine OFF): Turn the vehicle’s ignition to the “ON” position. This powers up the vehicle’s electrical systems and allows the scanner to communicate with the car’s computer without starting the engine (unless the diagnostic procedure specifically requires the engine to be running).
- Scanner Power-Up: The NT710 should power on automatically once connected and the ignition is on. If it doesn’t, press the power button on the device.
Navigating to the Diagnostic Menu:
- Vehicle Selection: Follow the scanner prompts to select your vehicle’s make, model, and year. This ensures the scanner uses the correct diagnostic protocols and vehicle-specific data.
- Access Electrical System Diagnostics: Navigate through the scanner’s menu to find the electrical system diagnostics section. This may be located under “Control Modules,” then “Body Control Module,” or directly under a heading like “Electrical Systems” or “Diagnostics.” The menu names can vary slightly depending on the scanner model and software version.
Running the Diagnostics:
- Retrieve Trouble Codes (DTCs): Begin by selecting the option to read diagnostic trouble codes (DTCs). The NT710 will scan the vehicle’s computer and display any stored codes, along with brief descriptions of the potential issues. Note down all DTCs for further analysis.
- Monitor Live Data: Access the live data stream function. Select relevant electrical parameters to monitor, such as battery voltage, alternator output, sensor voltages, and circuit currents. Observe the live data readings as you operate different electrical components (e.g., turn on lights, activate windows). Look for any readings that are out of the expected range or fluctuate erratically.
Analyzing Diagnostic Data:
- Interpret DTCs and Live Data: Use the DTC descriptions and live data readings to pinpoint potential problems. Compare live data values against the specifications in your vehicle’s service manual or reliable online resources. Abnormal voltage readings, erratic sensor signals, or DTCs related to electrical circuits are key indicators of electrical issues.
- Component-Specific Tests: If the scanner data suggests a problem with a specific component (e.g., a sensor, switch, or relay), you may need to perform further component-specific tests using a multimeter. These tests might include voltage drop tests, resistance measurements, and continuity tests to verify the component’s functionality and circuit integrity.
Resolution and Verification:
- Perform Repairs: Based on your diagnosis, carry out the necessary repairs or replacements. This may involve replacing faulty wiring, sensors, relays, or other electrical components. Ensure all connections are clean and secure.
- Clear Trouble Codes: After completing the repairs, use the NT710 scanner to clear the diagnostic trouble codes from the vehicle’s computer. This is important to verify that the repair has resolved the issue and to prevent old codes from causing confusion in future diagnostics.
- Re-test the System: Rerun the diagnostics to ensure that all electrical issues have been resolved and no new codes have appeared. Monitor live data again to confirm that the electrical system is functioning correctly under various operating conditions.
Documentation:
- Record Findings: Keep a detailed log of the diagnostic process, including the DTCs retrieved, live data readings, repairs performed, and the results of post-repair testing. This documentation is valuable for future maintenance and troubleshooting, especially if the issue recurs or for tracking vehicle maintenance history.
By following these steps, you can effectively utilize the Foxwell NT710 or similar OBD2 scanners to diagnose and address electrical issues in your vehicle. This systematic approach ensures accurate diagnosis, efficient repairs, and enhances your understanding of automotive electrical systems.
Troubleshooting Tips Using OBD2 Data for Electrical Problems
An OBD2 scanner provides a wealth of information that is crucial for diagnosing and resolving issues in modern vehicles. The key to effective troubleshooting lies in correctly interpreting this data. Here are essential guidelines for understanding scanner data and practical tips for tackling common electrical issues such as intermittent faults and persistent error codes.
Interpreting Scanner Data for Effective Troubleshooting
Understanding Diagnostic Trouble Codes (DTCs): OBD2 scanners display diagnostic trouble codes (DTCs), which are fundamental for identifying problems. Each code is standardized and has a specific meaning, indicating potential issues within different vehicle systems. For example, codes starting with “P” typically relate to powertrain issues, encompassing engine and transmission problems. For electrical system diagnosis, pay close attention to codes that begin with “B” (Body) or “U” (Network/Communication), as these often indicate electrical or electronic system faults. Consult a reliable DTC lookup resource (online databases or repair manuals) to understand the specific meaning of each code.
Analyzing Live Data Streams: OBD2 scanners provide real-time data from various sensors and systems. This includes critical parameters like voltage readings, sensor outputs, and switch statuses. To effectively use live data:
- Establish Baseline Norms: Understand the normal operating ranges for each data parameter for your specific vehicle model. This information is usually available in the vehicle’s service manual or reputable online automotive databases. Knowing the expected values allows you to quickly identify deviations that signal problems.
- Identify Outliers and Anomalies: Look for data readings that significantly deviate from the established norms or exhibit erratic behavior. For instance, fluctuating voltage readings, sensor signals that drop out intermittently, or values that are consistently out of range are strong indicators of underlying electrical issues.
Leveraging Freeze Frame Data: Many scanners can capture freeze frame data. This is a snapshot of the vehicle’s sensor readings and system conditions at the precise moment a fault code is triggered. Freeze frame data is incredibly valuable for diagnosing intermittent problems, as it provides context about the conditions under which the fault occurred, even if the problem is not currently present.
Graphing Data Over Time: Utilize the scanner’s graphing function to visualize live data streams over time. Graphing is particularly useful for identifying patterns, trends, and intermittent glitches that might not be apparent in static data readings. For example, graphing battery voltage during engine cranking can reveal voltage drop issues, or graphing sensor signals during vehicle operation can uncover intermittent signal losses.
Practical Tips for Common Electrical Issues
Troubleshooting Intermittent Faults:
- Inspect Grounds and Connections: Many intermittent electrical faults are caused by poor electrical connections or grounding issues. Thoroughly inspect all electrical connectors for looseness, corrosion, or damage. Clean corroded terminals and ensure connectors are fully seated and locked. Check ground points for corrosion and secure connections to the vehicle chassis.
- Perform Harness Flex Tests: Gently flex and wiggle wiring harnesses while monitoring live data on the scanner. If flexing a harness causes a fault to appear or data readings to change erratically, it can help pinpoint wiring breaks or insulation damage within the harness.
- Component Isolation Testing: If an intermittent fault is suspected in a specific component, use the scanner’s active test functions (bi-directional control, if available) to cycle the component on and off repeatedly while monitoring live data. This can sometimes provoke an intermittent fault to manifest, helping to confirm component failure.
Addressing Error Codes Effectively:
- Prioritize Multiple Codes: If multiple DTCs are present, address them systematically. Often, one primary fault can trigger a cascade of secondary codes. Start by diagnosing and resolving the codes that seem most fundamental or directly related to the symptoms you are experiencing. Repair manuals and online resources can help identify primary vs. secondary codes.
- Utilize Repair Resources: Leverage resources like vehicle-specific service manuals, online automotive forums, and professional repair databases to research the typical causes and troubleshooting steps associated with each DTC. These resources often provide valuable insights into common failure points and diagnostic strategies.
- Clear and Re-test After Repairs: After performing repairs based on the DTC analysis, use the scanner to clear all DTCs. Then, re-run the diagnostic scan and test drive the vehicle under conditions that previously triggered the fault to ensure the problem is resolved and no new codes reappear.
General Best Practices:
- Keep Scanner Firmware Updated: Regularly update your OBD2 scanner’s firmware and software to ensure it has the latest vehicle coverage, diagnostic capabilities, and bug fixes.
- Calibrate Sensors as Needed: Some sensors, particularly position sensors like throttle position sensors, may require calibration after replacement or adjustment. Follow manufacturer procedures for sensor calibration to ensure accurate readings.
- Document Diagnostic Findings: Maintain a detailed record of all diagnostic codes, live data readings, troubleshooting steps, and repairs performed. This documentation is invaluable for tracking vehicle maintenance history, identifying recurring issues, and providing information to other technicians if needed.
By mastering the interpretation of OBD2 scanner data and applying these troubleshooting techniques, you can become proficient in diagnosing and resolving vehicle electrical problems, minimizing downtime and avoiding costly unnecessary repairs. This approach ensures thorough and accurate maintenance, ultimately extending the lifespan and performance of your vehicle.
Conclusion: Empowering Automotive Diagnostics with OBD2 Scanners
An effective approach to using an OBD2 scanner goes beyond simply plugging in the device and reading codes. It requires a comprehensive understanding of vehicle systems, meticulous data analysis, and a systematic troubleshooting methodology that extends beyond superficial fixes. Each step in the diagnostic process is crucial and can be the difference between a quick, effective repair and a recurring, costly problem down the road.
Whether you are troubleshooting a complex electrical system issue, diagnosing engine performance problems, or performing routine vehicle maintenance, an OBD2 scanner is an indispensable tool. Integrating this technology into your car care routine empowers you to maintain your vehicle proactively, ensuring it remains a reliable and efficient companion, ready to meet the demands of modern driving with confidence.