Many car owners and DIY mechanics sometimes need to access or remove the OBD2 connector, often for diagnostics or modifications. While it might seem daunting, removing the OBD2 connector shroud is actually a straightforward process. Contrary to some misleading information online suggesting complex maneuvers, this guide provides a simple and effective method to safely remove your OBD2 connector, focusing on the easily missed step of leveraging from the driver’s side.
Often located under the driver’s side dashboard, the OBD2 port is housed within a shroud that clips into the dash. Many online resources incorrectly suggest reaching behind the dash and forcefully squeezing clips that are virtually inaccessible. This approach is not only difficult but also unnecessary.
Let’s clarify the correct way to remove the OBD2 connector shroud efficiently.
Alt text: A close-up view of an OBD2 port connector and its surrounding shroud located in a car’s dashboard, highlighting the area for removal.
The image above shows a typical OBD2 port and its surrounding shroud. The shroud is the key component we need to detach to access or remove the OBD2 connector. The common misconception is that clips at the back need to be squeezed blindly, but as you’ll see, a more accessible method exists.
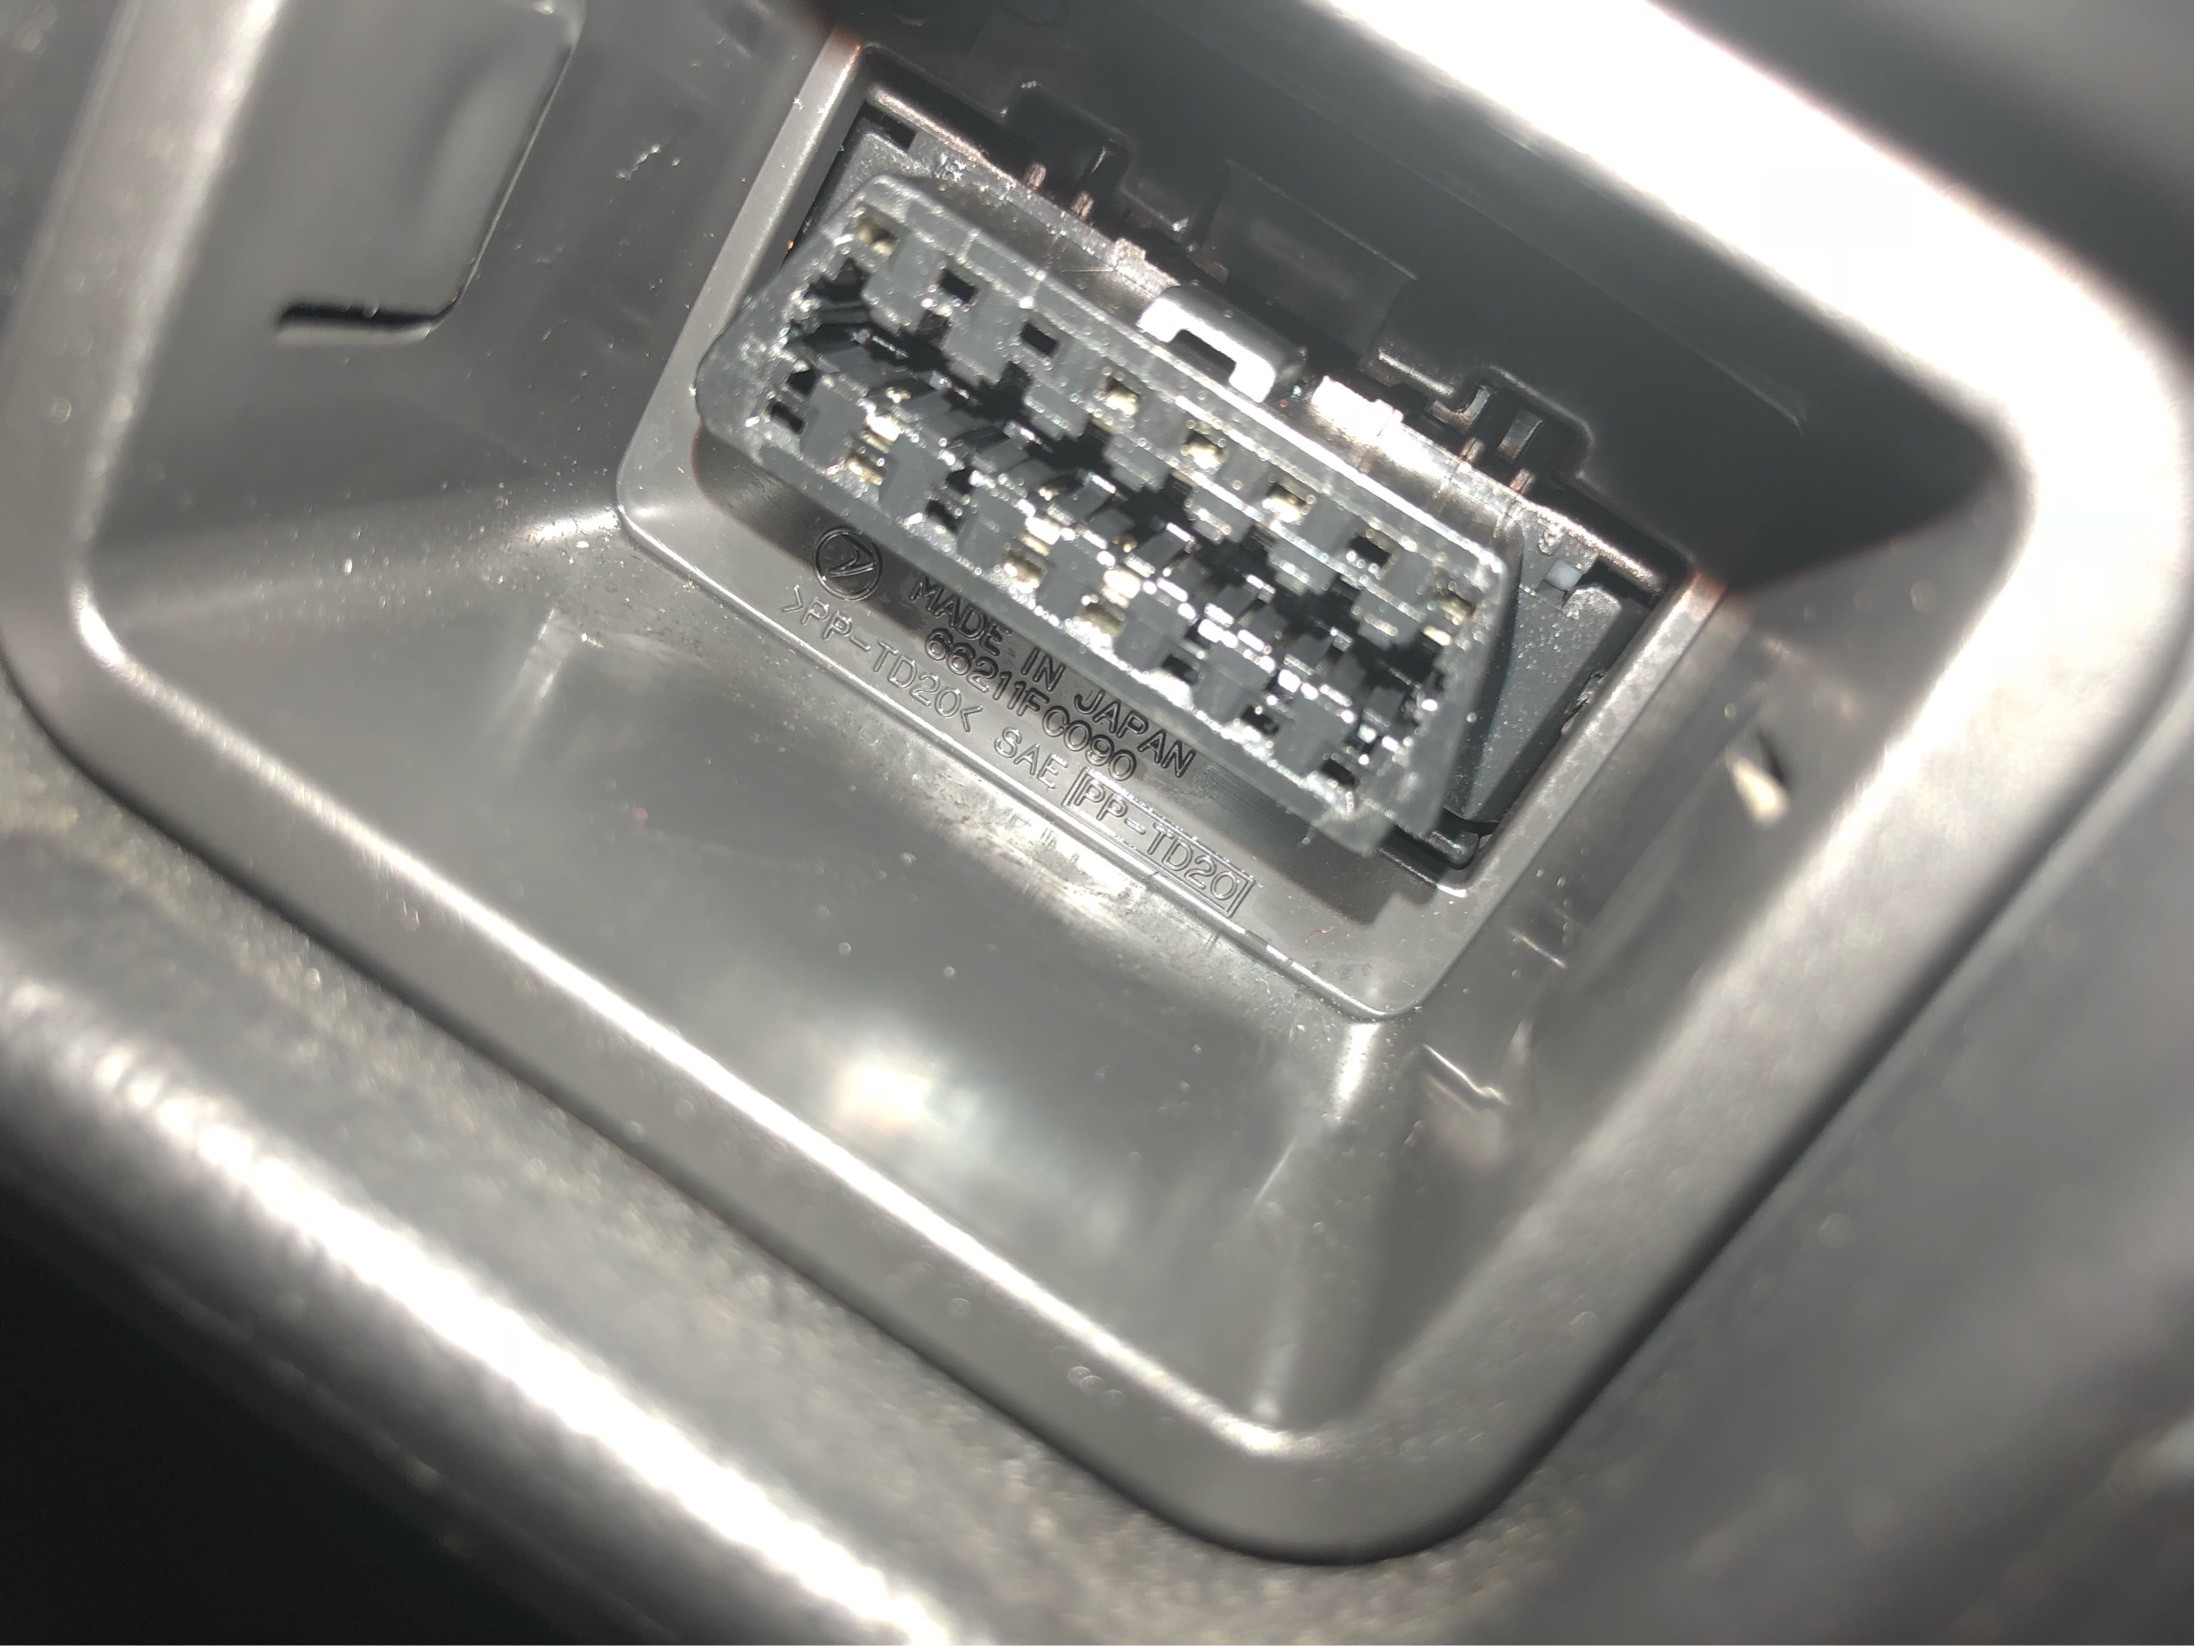
The next image illustrates the shroud removed from the dash, highlighting the limited space behind the connector.
Alt text: Image showing the OBD2 port shroud after removal from the dashboard, with a thumb indicating the minimal space available behind the dash for maneuvering.
As you can see, the space behind the dash is very restricted, making it nearly impossible to effectively squeeze any clips from behind. The clips are positioned further down the shroud, obstructed by the OBD2 port itself.
The solution is surprisingly simple: utilize a non-marring pry bar or a similar plastic trim removal tool. Gently lever the shroud outwards from the driver’s side edge. Simultaneously, apply a pushing force from behind the dashboard if possible. You might need to repeat this process on both sides of the shroud to gradually release it.
By carefully prying from the side while pushing from behind, the shroud and the OBD2 port will detach from the dashboard. Be aware that there will be minimal slack in the wiring. If you need to further access the OBD2 port itself, it is attached to the shroud with clips on each side which can be easily released.
Reinstallation is just the reverse. Simply align the shroud and OBD2 port back into the dashboard opening and push firmly until it snaps back into its original position.
Removing your OBD2 connector shroud doesn’t require brute force or impossible reaches. With a simple pry tool and the correct approach, you can easily access your OBD2 port for any maintenance or diagnostic needs.