The Evaporative Emission Control System (EVAP) is crucial for your vehicle’s efficiency and environmental responsibility. It’s designed to capture fuel vapors from the carburetor and fuel tank, preventing them from escaping into the atmosphere and contributing to air pollution. The EVAP system’s importance extends beyond environmental concerns; it’s also vital for your car’s overall performance and fuel economy.
Enter the On-Board Diagnostics II (OBD2) scanner, a vital tool in modern automotive diagnostics. Since its standardization in 1996, the OBD2 scanner has become indispensable for car maintenance and troubleshooting. It provides real-time insights into your vehicle’s health for both DIY enthusiasts and professional mechanics. Beyond simply reading data, OBD2 scanners play a crucial role in conducting specific tests, notably the EVAP test.
OBD2 scanners are multifaceted diagnostic tools. They pinpoint engine problems, monitor engine performance, and ensure your vehicle adheres to emission standards. Modern vehicles are increasingly complex, making an OBD2 scanner more than just a troubleshooting tool—it’s a window into your car’s operational performance. By enabling proactive maintenance, it helps address minor issues before they escalate into costly repairs, extending your vehicle’s life and saving you money.
In the following sections, we will explore the EVAP system’s operation, detail how to perform an EVAP test using an OBD2 scanner, and guide you on interpreting test results and taking appropriate action. This information is essential for anyone looking to deepen their understanding of car maintenance and ensure their vehicle remains in peak condition.
Understanding the EVAP System
The Evaporative Emission Control (EVAP) system is a fundamental component of modern vehicles, designed to minimize the release of fuel vapors into the atmosphere. It effectively captures vapors from the fuel tank and carburetor, stores them in a charcoal canister, and then reintroduces these vapors into the engine to be burned during normal combustion. This process significantly reduces harmful emissions and enhances fuel efficiency.
Basic Functions of the EVAP System
The EVAP system’s core functions are achieved through these key components and processes:
Vapor Capture: Fuel vapors continuously form in the fuel system, whether the vehicle is running or parked. The EVAP system captures these vapors and directs them to the charcoal canister for temporary storage.
Vapor Storage: The charcoal canister, filled with activated carbon, acts like a sponge, absorbing and holding fuel vapors. This prevents the vapors from venting into the atmosphere and causing pollution.
Purge Cycle: When the engine is running, manifold vacuum opens the purge valve, drawing the stored fuel vapors from the charcoal canister into the engine’s intake manifold. Here, they mix with the air and fuel mixture and are combusted, effectively recycling them instead of releasing them into the environment.
Vent Control: The vent control valve regulates fresh air flow into the canister. This aids in the purging process and maintains stable pressure within the system.
Common Issues Diagnosed in the EVAP System
Despite its effectiveness, the EVAP system is not without potential issues. Common problems can trigger dashboard warnings, typically indicated by the check engine light. Here are some of the most frequent issues:
Loose or Damaged Gas Cap: A simple yet common problem is a gas cap that isn’t properly tightened or has a faulty seal. A loose gas cap allows vapors to escape, reducing system efficiency and increasing emissions.
Leaking Vacuum Vents or Hoses: Cracks or breaks in vacuum lines or vents can cause pressure imbalances within the system, disrupting vapor flow.
Faulty Purge Valve: If the purge valve sticks open or malfunctions, it can cause excessive vapor leakage into the engine at inappropriate times, potentially affecting engine performance.
Damaged Charcoal Canister: Over time, the charcoal canister can become saturated with fuel or physically damaged, reducing its effectiveness in storing and releasing vapors.
Electrical and Sensor Issues: The EVAP system relies on various sensors and solenoids to control its operation. Failures in these components can send incorrect signals to the engine control unit (ECU), triggering warnings and error codes.
Understanding these components and potential issues is crucial for effective EVAP system diagnosis using an OBD2 scanner. The next step is to explore how to use OBD2 scanners for EVAP testing, providing a comprehensive approach to maintaining your vehicle’s environmental health and performance.
Key Features of OBD2 Scanners for EVAP Testing
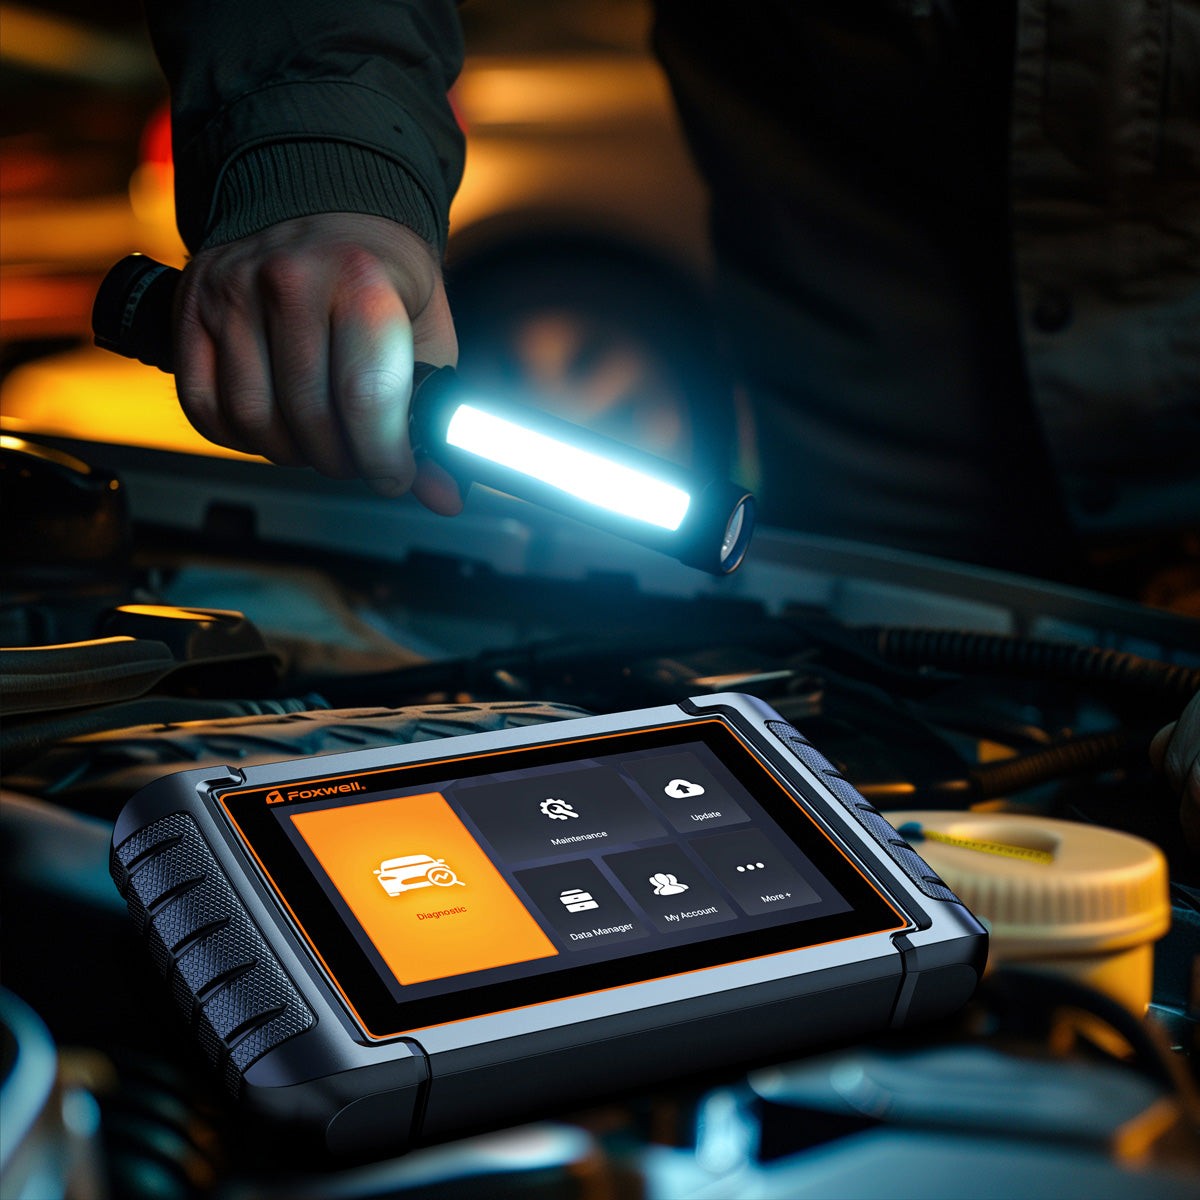
OBD2 scanners are indispensable tools for modern automotive diagnostics, particularly for testing the Evaporative Emission Control (EVAP) system. These scanners are not just for reading generic engine codes; they offer specialized features to monitor, diagnose, and resolve EVAP system problems. This section highlights the key features of OBD2 scanners that are especially useful for EVAP testing, with examples from popular models like the Foxwell NT530 and Foxwell NT650 Elite.
Specifics of EVAP Functionality
Bi-Directional Control: This feature allows the scanner to not only read data from the vehicle’s computer but also send commands back to the vehicle. For EVAP testing, bi-directional control is essential for activating and testing components like the purge and vent valves to verify their operation.
Real-Time Data Monitoring: OBD2 scanners provide real-time data streams related to the EVAP system. This includes monitoring fuel tank pressure to ensure system integrity and detect leaks. Real-time data is crucial for identifying intermittent issues and observing system responses during tests.
Advanced Diagnostic Functions: High-end scanners offer enhanced diagnostic functions specifically for the EVAP system. These functions can perform automated tests that simulate normal operating conditions, ensuring each component functions correctly under various scenarios.
Advanced Features Relevant to Diagnostics
Foxwell offers models like the NT530 and NT650 Elite, which provide advanced features to enhance EVAP system diagnostics:
Foxwell NT530:
Comprehensive Manufacturer-Specific Diagnostics: This tool provides deep diagnostic capabilities and broad manufacturer support. It can access detailed, manufacturer-specific trouble codes, essential for accurately pinpointing EVAP issues that generic scanners might miss.
Actuation Tests: The NT530 supports actuation tests, allowing mechanics to directly control EVAP system components via the scanner. This enables real-time monitoring of component performance and quick identification of malfunctions.
Foxwell NT650 Elite:
Special Functions: The NT650 Elite offers specialized service functions beyond EVAP testing, including EPB reset, oil service reset, and DPF regeneration. For EVAP testing, its service functions can initiate automated EVAP system self-tests, checking for leaks and other issues without manual intervention.
Service Functions: This model’s service functions include the ability to initiate the vehicle’s own EVAP system diagnostic tests. These tests automatically assess the system for leaks and other faults, streamlining the diagnostic process.
Both the NT530 and NT650 Elite provide in-depth analysis and effective communication with the vehicle’s onboard computer, ensuring accurate data retrieval and component testing. Their advanced features improve the efficiency and accuracy of diagnosing EVAP-related problems, facilitating timely repairs and maintenance.
Equipping yourself with a sophisticated OBD2 scanner like the Foxwell NT530 or NT650 Elite makes performing an EVAP test efficient and manageable. These scanners not only expedite diagnosis but also help ensure your vehicle complies with emission standards, promoting environmental responsibility and optimal performance.
Step-by-Step Guide to Performing an EVAP Test
Conducting an EVAP test with an OBD2 scanner is a vital procedure for maintaining your vehicle’s Evaporative Emission Control (EVAP) system. This test helps identify issues like leaks, faulty vent or purge valves, and problems with the charcoal canister, all of which can affect vehicle performance and emissions. Here’s a detailed guide on how to prepare and perform an EVAP test using an OBD2 scanner.
Preparing the Vehicle and Scanner
Vehicle Preparation:
- Park your vehicle on a level surface and ensure the engine is turned off.
- Check the fuel level. It should be between 1/4 and 3/4 full for an accurate test. Most vehicles require this fuel range for the EVAP system test to initiate.
- Ensure the engine is cold. A cold start is generally required for proper testing.
- Close all windows, doors, and the fuel tank cap to ensure the system is properly sealed.
Scanner Setup:
- Ensure your OBD2 scanner is fully charged.
- Update the scanner software to the latest version. This ensures accurate diagnostics and compatibility with newer vehicles.
The Steps in Detail from Connection to Diagnosis
Connecting the Scanner:
- Locate the OBD2 Port: The OBD2 port is typically located under the dashboard on the driver’s side. In most cars, it’s near the steering column.
- Connect the Scanner: Plug your Foxwell NT530 or NT650 Elite into the vehicle’s OBD2 port.
- Power On: Turn on the Foxwell scanner. Ensure your vehicle’s ignition is in the “On” position, but the engine should not be running.
Initializing the Test:
- Select Vehicle Information: In the Foxwell NT530 menu, you’ll need to input your vehicle’s make, model, and year. Navigate using the arrow keys to find your vehicle’s manufacturer and select the correct model and year.
- Find the EVAP Test: From the main menu, select “Diagnosis” and then “Control Modules.” In this menu, find and select ‘Powertrain Control Module’ or ‘Engine Control Module,’ which usually houses EVAP system tests.
- Start the EVAP Test: Follow the on-screen prompts to initiate the EVAP System Test. The scanner may ask for confirmation that the fuel level is within the specified range (1/4 to 3/4 full) and that the vehicle has been off for a certain period (often several hours to ensure the system is not pressurized).
Performing the EVAP Test:
- System Activation: The Foxwell NT530 will command the vehicle’s onboard computer to start the EVAP test. This typically involves sealing the system, activating the vent and purge control valves, and checking for pressure changes.
- Monitor the Test: Observe the scanner’s display. The Foxwell NT530 provides real-time data and status updates. Watch for any pressure drops, which could indicate leaks or system malfunctions.
Analyzing the Results:
- Check Diagnostic Trouble Codes (DTCs): Once the test is complete, the Foxwell NT530 will display any stored DTCs. These may include codes like P0442 (small leak), P0455 (large leak), or P0441 (incorrect purge flow).
- Interpretation: Use the scanner’s “DTC Lookup” function to understand the codes. The Foxwell NT530 has a comprehensive database of code definitions and troubleshooting tips.
- Further Diagnostics: Depending on the results, you may need to perform additional tests or inspect specific components like purge valves, the charcoal canister, or vacuum hoses for damage or leaks.
Post-Diagnosis Actions:
- Repair: Based on the diagnostic results, repair or replace any faulty components. A common fix is replacing a loose or damaged gas cap.
- Clear Codes: After repairs, use the Foxwell NT530 to clear the EVAP system codes from your vehicle’s ECU. This resets the system and turns off the check engine light.
- Re-Test: To ensure the issue is resolved, repeat the EVAP test to confirm no new codes are detected and that the repair was successful.
By following these steps with a Foxwell scanner, you can efficiently diagnose and address issues within your vehicle’s EVAP system. This ensures your vehicle remains environmentally compliant and maintains optimal performance. Ensuring your vehicle’s Evaporative Emission Control (EVAP) system is functioning correctly is crucial not only for meeting emission standards but also for maximizing your vehicle’s efficiency and performance.
Maintaining Your Vehicle’s EVAP System
Regular maintenance is key to preventing common issues and extending the lifespan of your EVAP system components.
Regular Checks and Balances
Inspect the Gas Cap:
- Tightness: Regularly check your gas cap for tightness, especially before refueling. A loose cap can allow vapor leaks and trigger the check engine light.
- Condition: Examine the gas cap for signs of wear or damage, such as cracks or a deteriorated seal. Replace the cap if any imperfections are found.
Check Hoses and Connections:
- Visual Inspection: Regularly inspect all hoses and connections within the EVAP system for signs of wear, damage, such as cuts, cracks, or loose connections that could lead to leaks.
- Smoke Test: Consider a professional smoke test annually. This test introduces smoke into the EVAP system and can reveal hard-to-find leaks.
Monitor the Charcoal Canister:
- Check for Contamination: Ensure the charcoal canister is not contaminated with liquid fuel or water. Contamination can impair its ability to absorb fuel vapors.
- Replacement: Follow manufacturer recommendations for canister inspection and replacement. Generally, the canister should be checked if you notice fuel recovery issues or after significant fuel spills or leaks.
Use Diagnostic Tools:
- OBD2 Scanner: Periodically use an OBD2 scanner to check for any EVAP system-related codes. Early detection of codes can help address issues before they become serious.
Best Practices for Longevity and Efficiency
Regular Maintenance Schedule:
Service Intervals: Adhere to your vehicle’s maintenance schedule as recommended by the manufacturer. Regular servicing often includes inspections of the EVAP system as part of overall vehicle maintenance.
Professional Inspections:
- Regular Check-ups: Have your EVAP system inspected by a qualified technician, especially if you live in a hot climate where the system works harder due to increased fuel evaporation rates.
Avoid Overfilling the Fuel Tank:
- Stop at the Click: When refueling, stop filling when the nozzle clicks off. Overfilling can force liquid fuel into the charcoal canister, damaging it and reducing its efficiency.
Educate Yourself About Your Vehicle:
- Owner’s Manual: Familiarize yourself with the EVAP system components as described in your vehicle’s owner’s manual. Knowing what to look for and how parts should function can help you identify potential problems early.
Address Repairs Promptly:
- Priority Attention: If an EVAP system issue is detected, address it promptly. Delaying repairs can lead to more significant problems, including failing emission tests and reduced fuel efficiency.
By performing regular checks and adopting these best practices, you can ensure your EVAP system remains in optimal condition, providing both environmental benefits and operational efficiency. Consistent maintenance not only helps prevent costly repairs but also extends the life of your vehicle.
Conclusion
In this guide on using an OBD2 scanner for EVAP tests, we’ve covered the essential functions and maintenance practices to ensure the effective operation of your vehicle’s Evaporative Emission Control (EVAP) system. From understanding the basics and common issues of the EVAP system to exploring the capabilities of advanced OBD2 scanners like the Foxwell NT530 and NT650 Elite, we’ve provided comprehensive information on the importance of these tools for vehicle diagnostics and environmental compliance.
FAQs
What does an EVAP test check for in my car?
An EVAP test checks for leaks in the Evaporative Emission Control System, ensuring that fuel vapors are properly contained and not released into the atmosphere.
Can I perform an EVAP test at home?
Yes, you can perform an EVAP test at home if you have an OBD2 scanner that supports EVAP testing. Follow the scanner’s instructions for proper testing procedures.
How often should I perform an EVAP test?
It is recommended to perform an EVAP test annually or whenever you notice a check engine light and suspect it might be related to an emissions issue.